
Printers and hardware
1. Adding a printer
1Tap the ☰ menu at the top left.
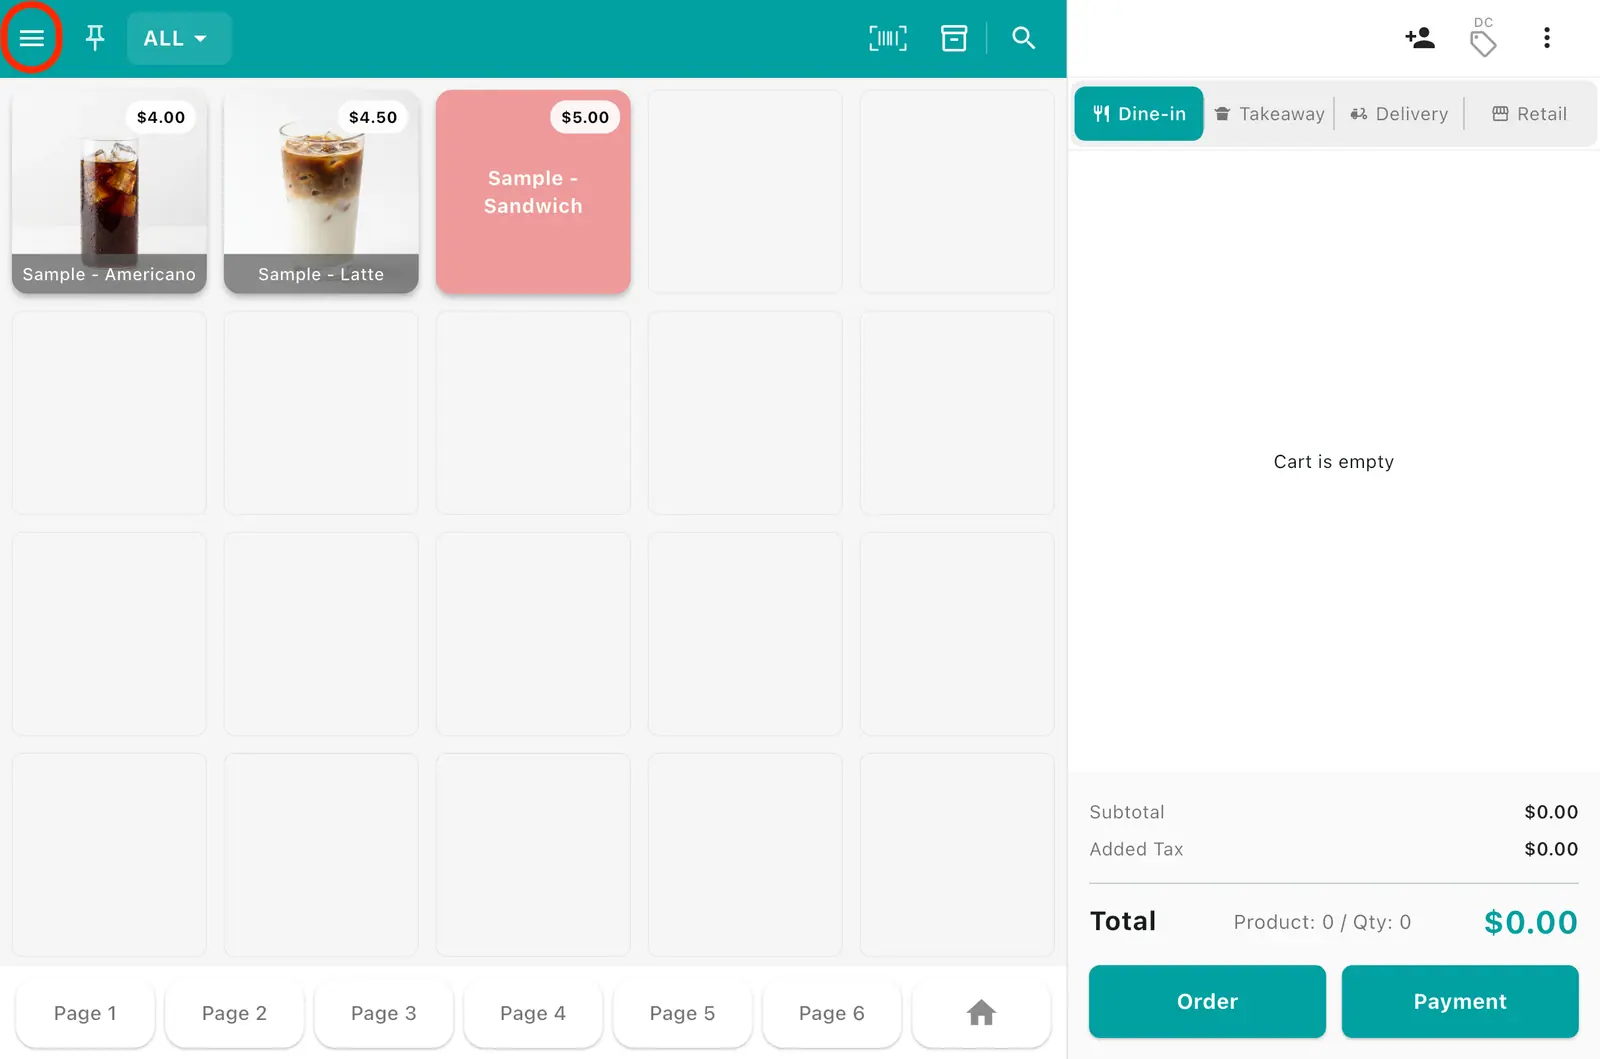
2Tap Settings in the left side menu.
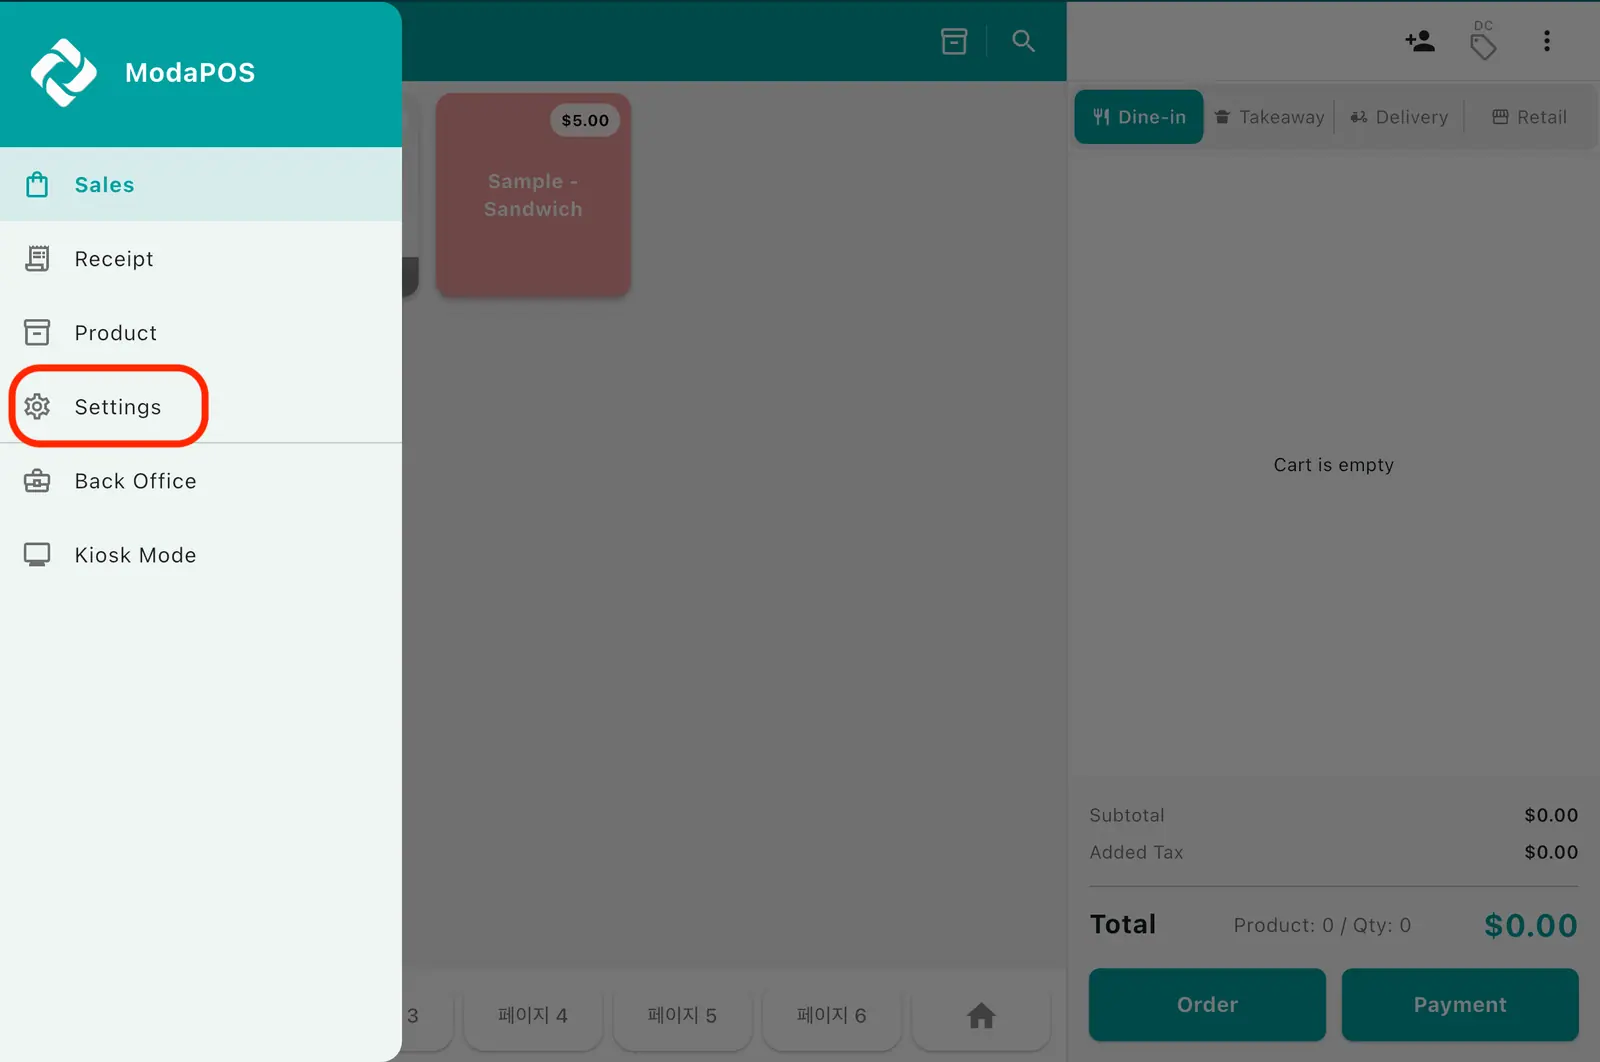
3In the left side menu tap Printer, then tap + at the top right to add a new printer.
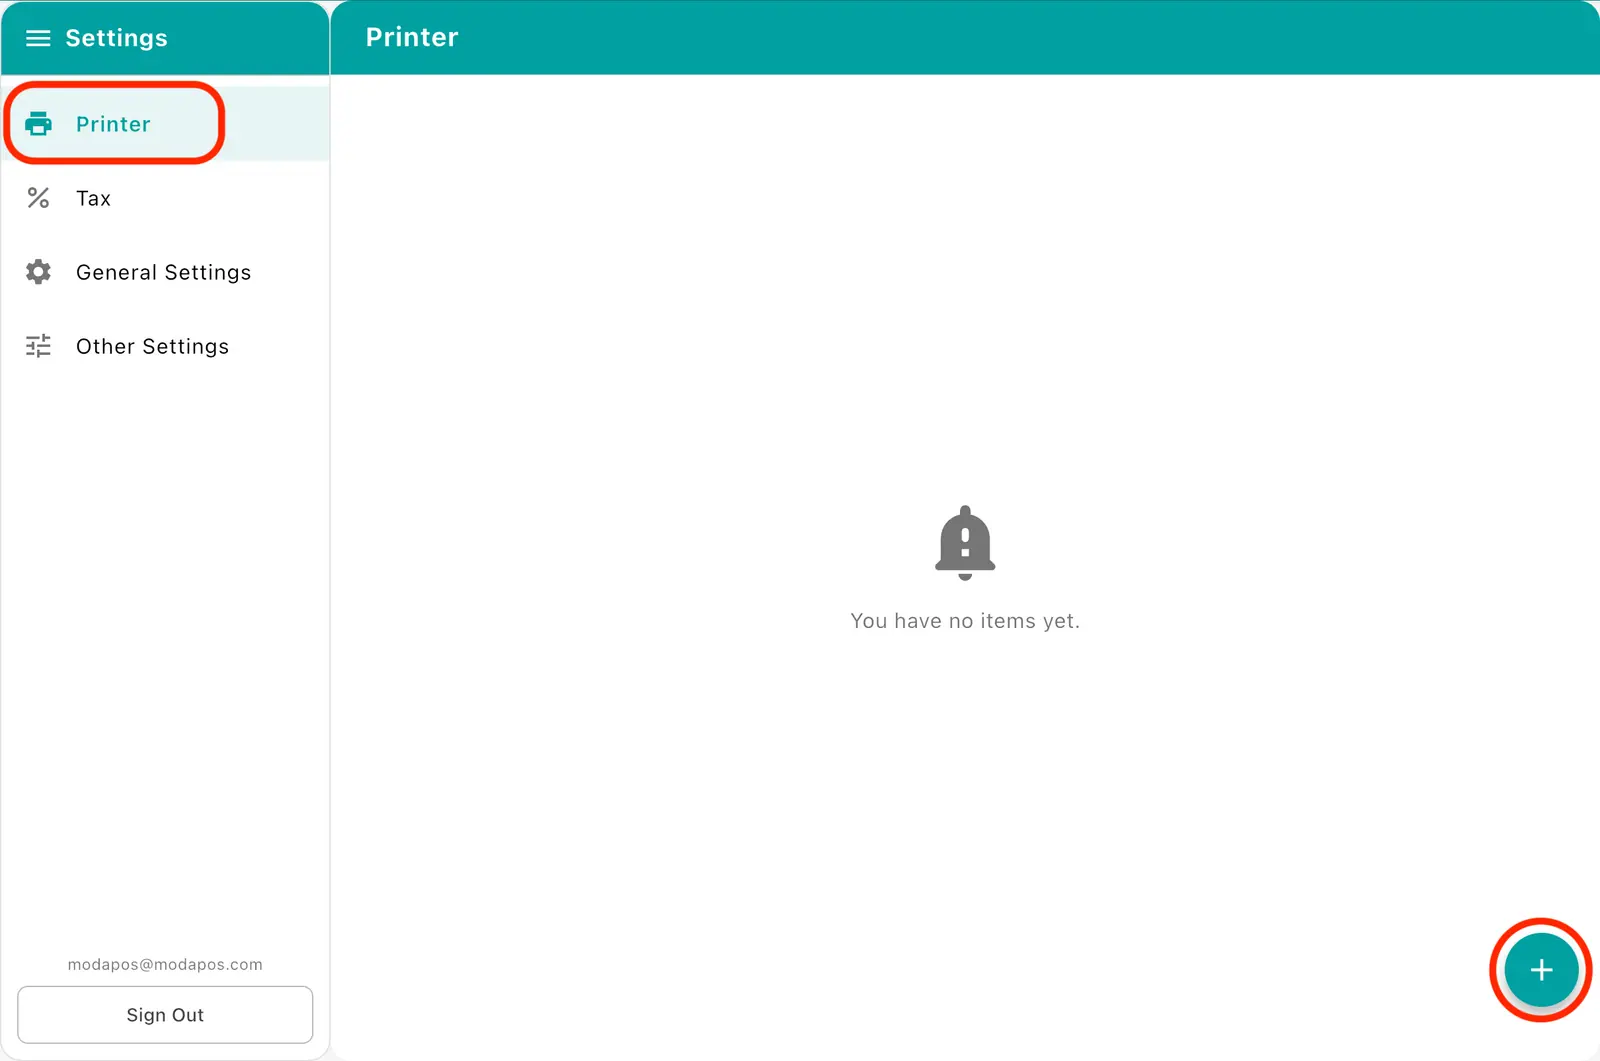
4On the printer settings screen, tap Search.
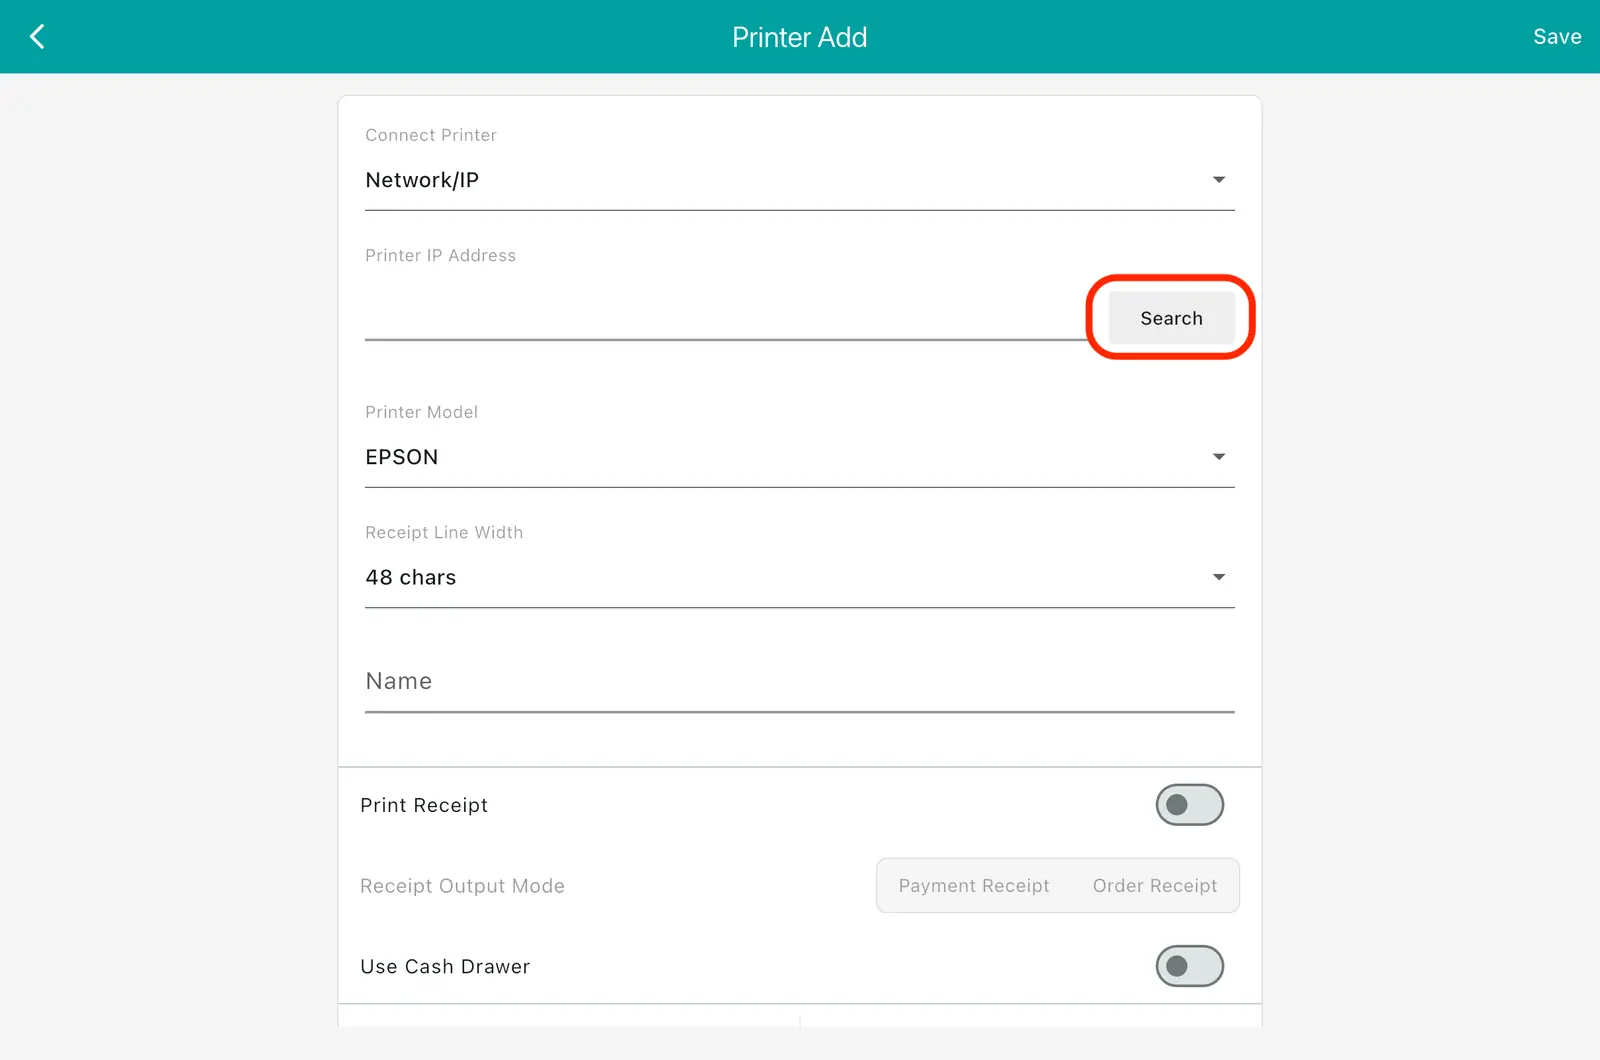
5Tap the printer that appears in the search popup to select it.
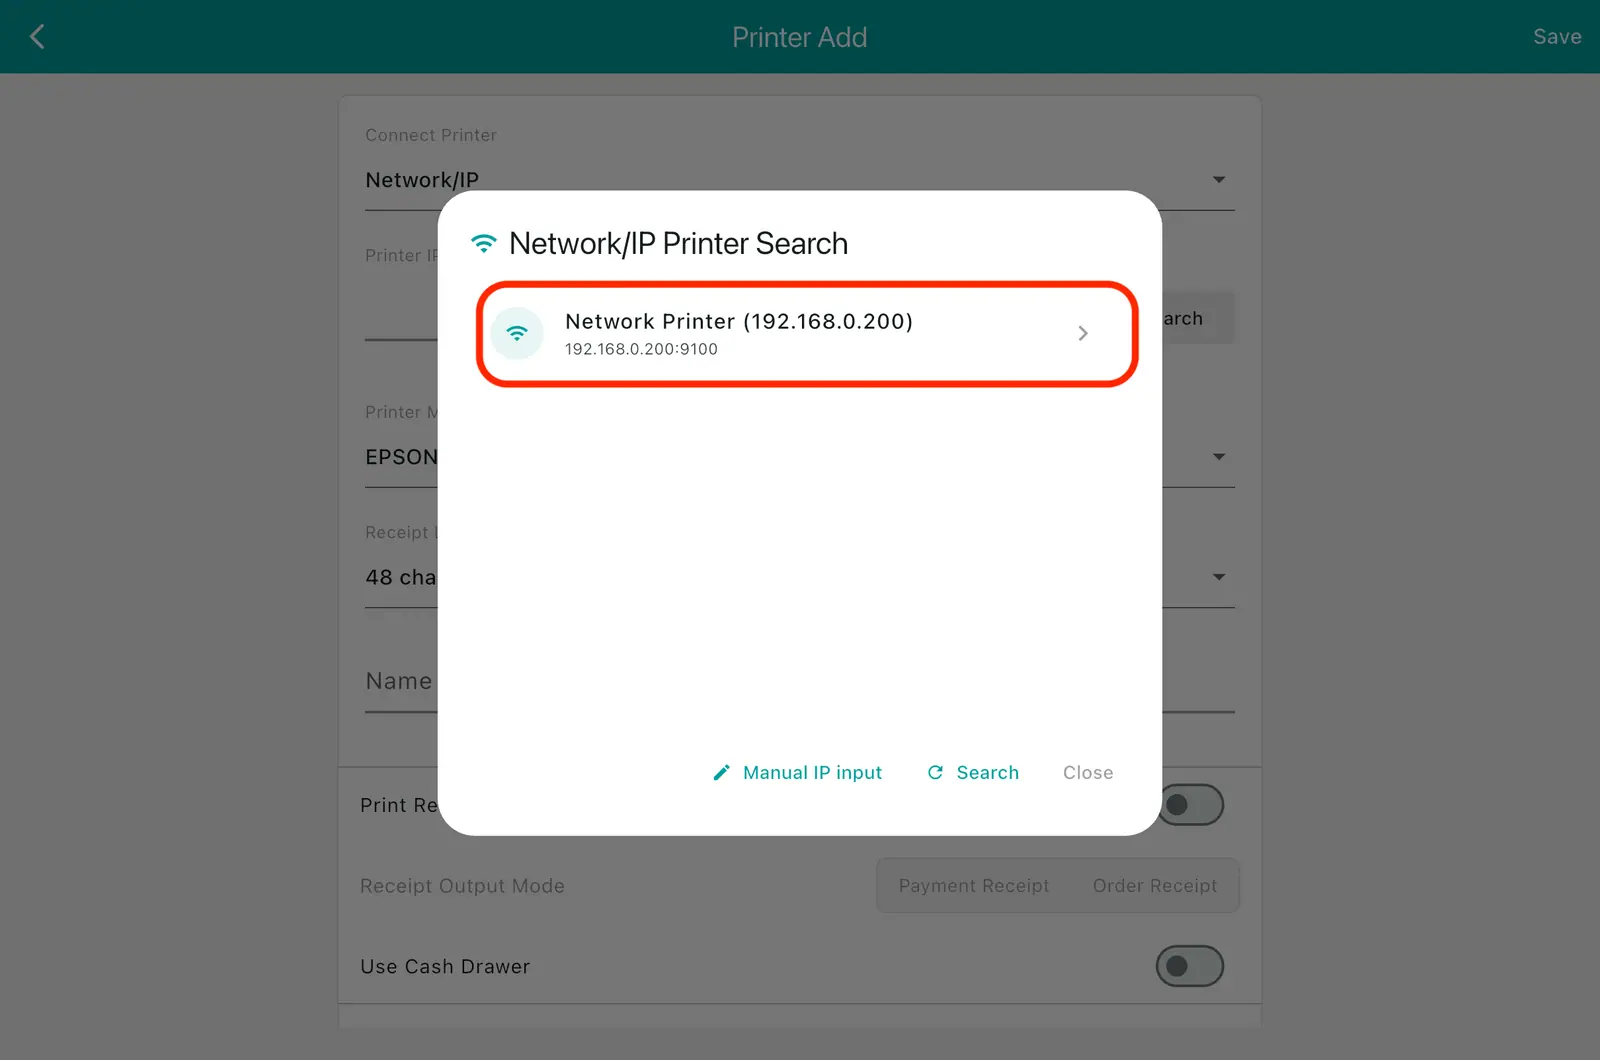
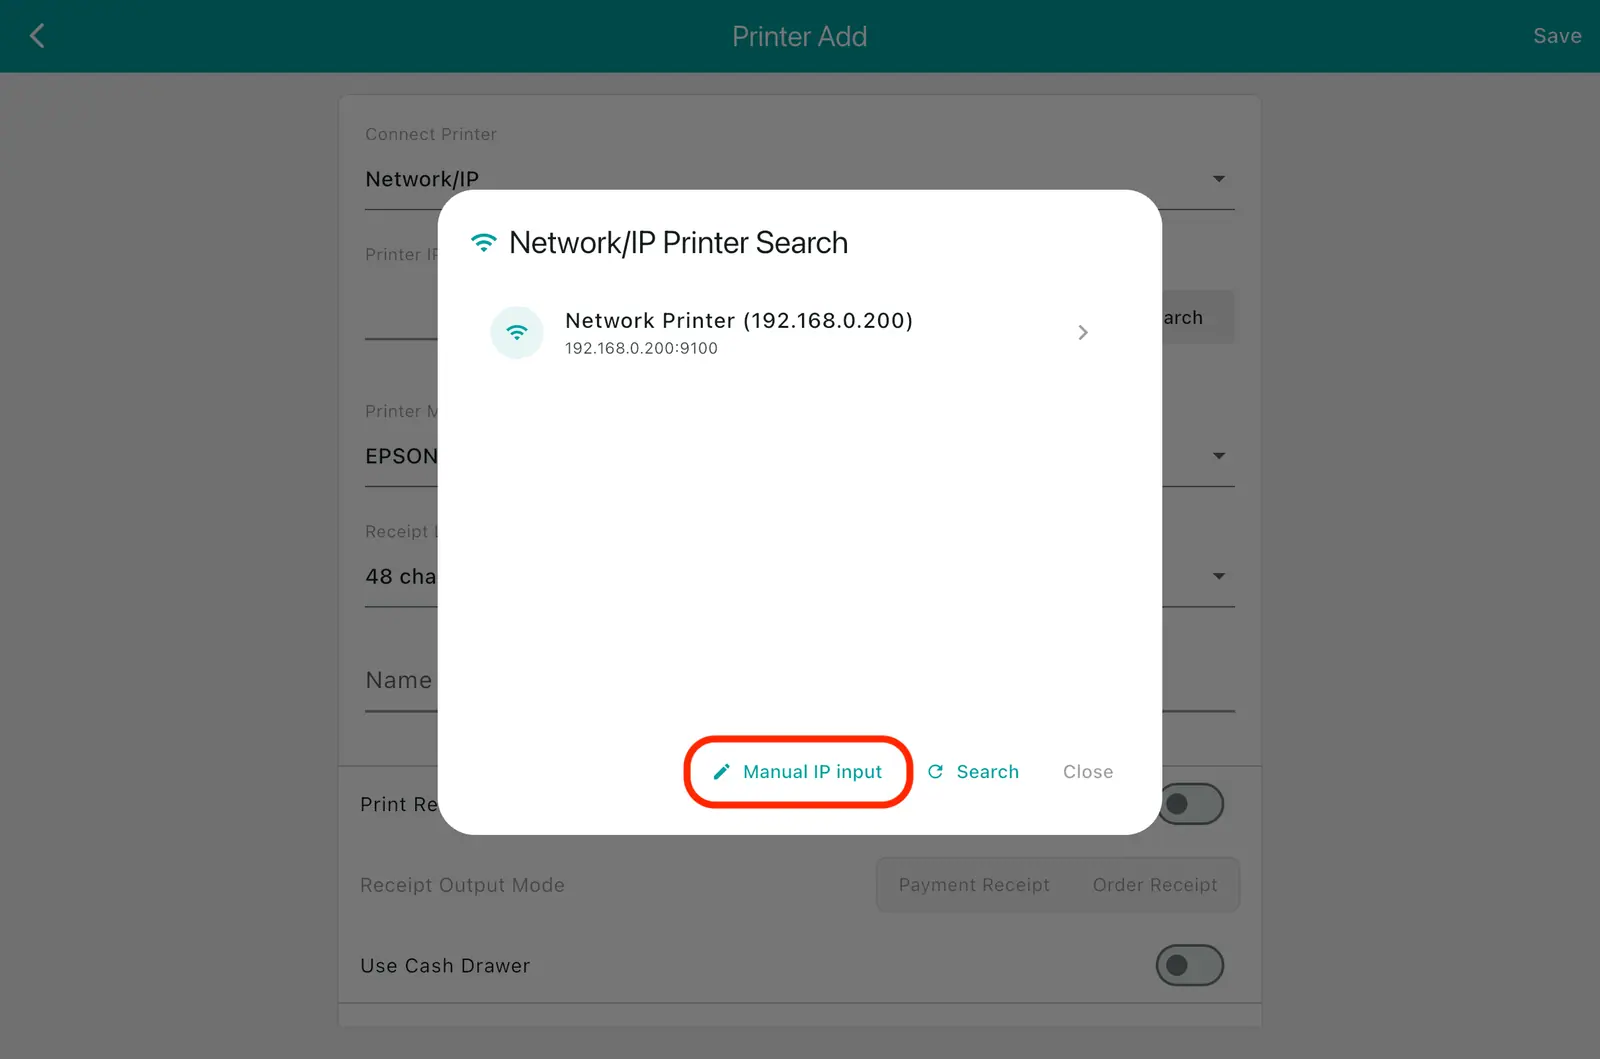
6If no printer appears, tap Manual IP input at the bottom of the popup.
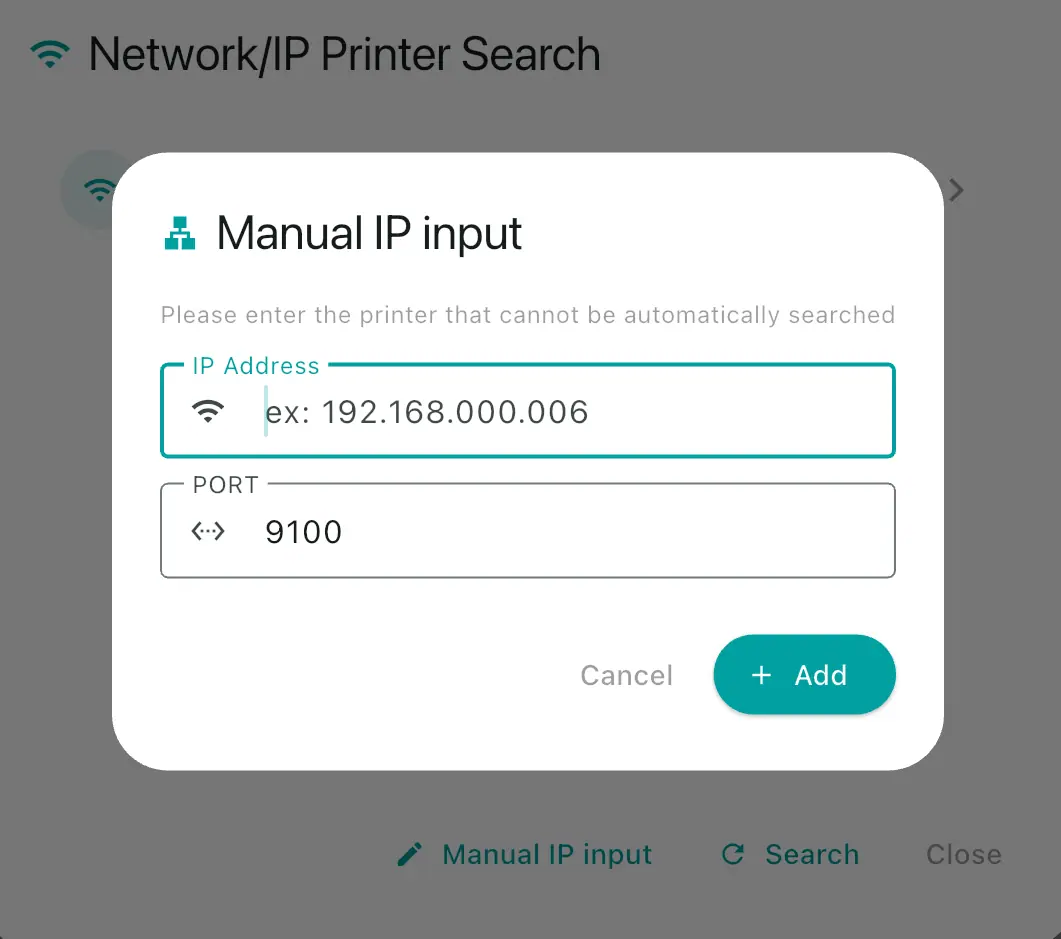
7Enter the printer IP address and port, then save.
Receipt logos do not print over Bluetooth. A logo is an image and carries far more data than text, and Bluetooth is slow, so the app drops the logo to keep printing fast. Connect over Network/IP if you need the logo printed.
2. Print settings
1The lower part of the printer settings screen has the Print receipts, Receipt output mode (payment receipt / order receipt), and Use cash drawer switches. After setting them, tap Save at the top right.

| Print mode | When it prints |
|---|---|
| Payment receipt | Prints when payment completes. The one you hand the customer |
| Order receipt | Prints when you tap Order. For the kitchen |
The cash drawer is usually cabled to the back of the receipt printer. The printer sends the signal that pops it open, which is why the drawer setting lives inside the printer settings.
The drawer only opens automatically on cash payments. It stays shut for card and other methods. To open it on a non-cash sale, use the Open drawer button on the sales screen.
3. Auto-printing per payment method
1Tap General in the left side menu, then tap Auto-print receipt after sales save.
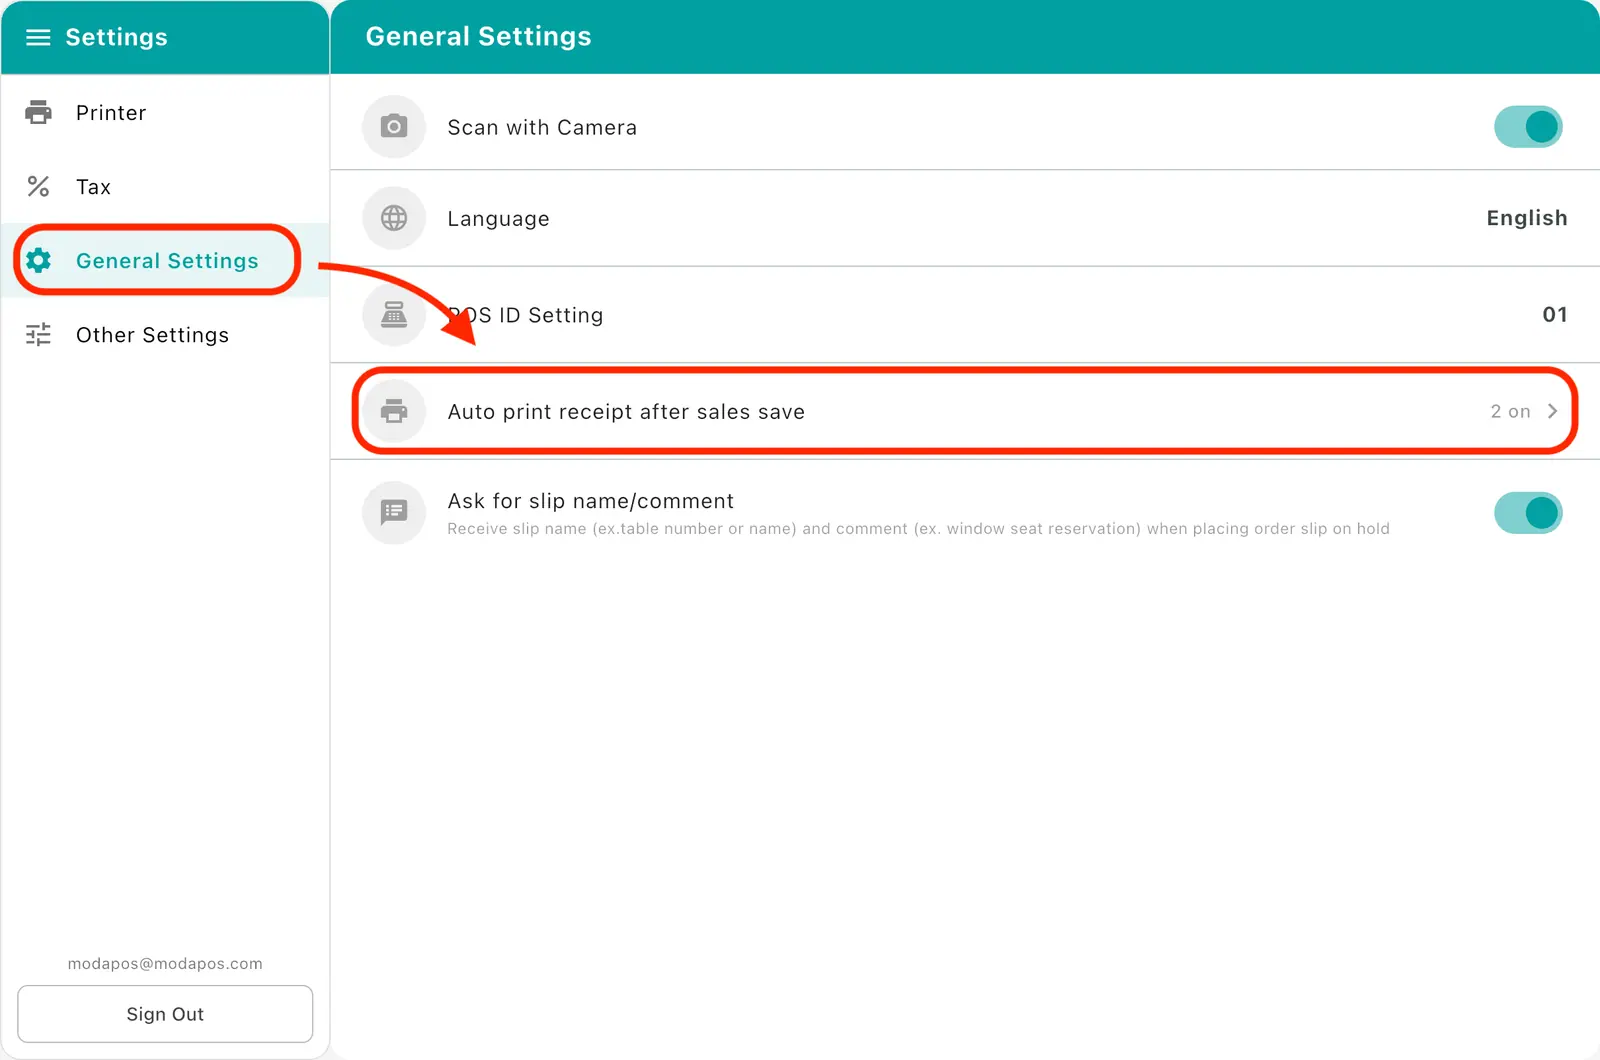
2Toggle auto-printing on or off per payment method. You can set Card · Cash (cash receipt issued) · Cash (not issued) · Bank transfer · External terminal approval · Other individually.
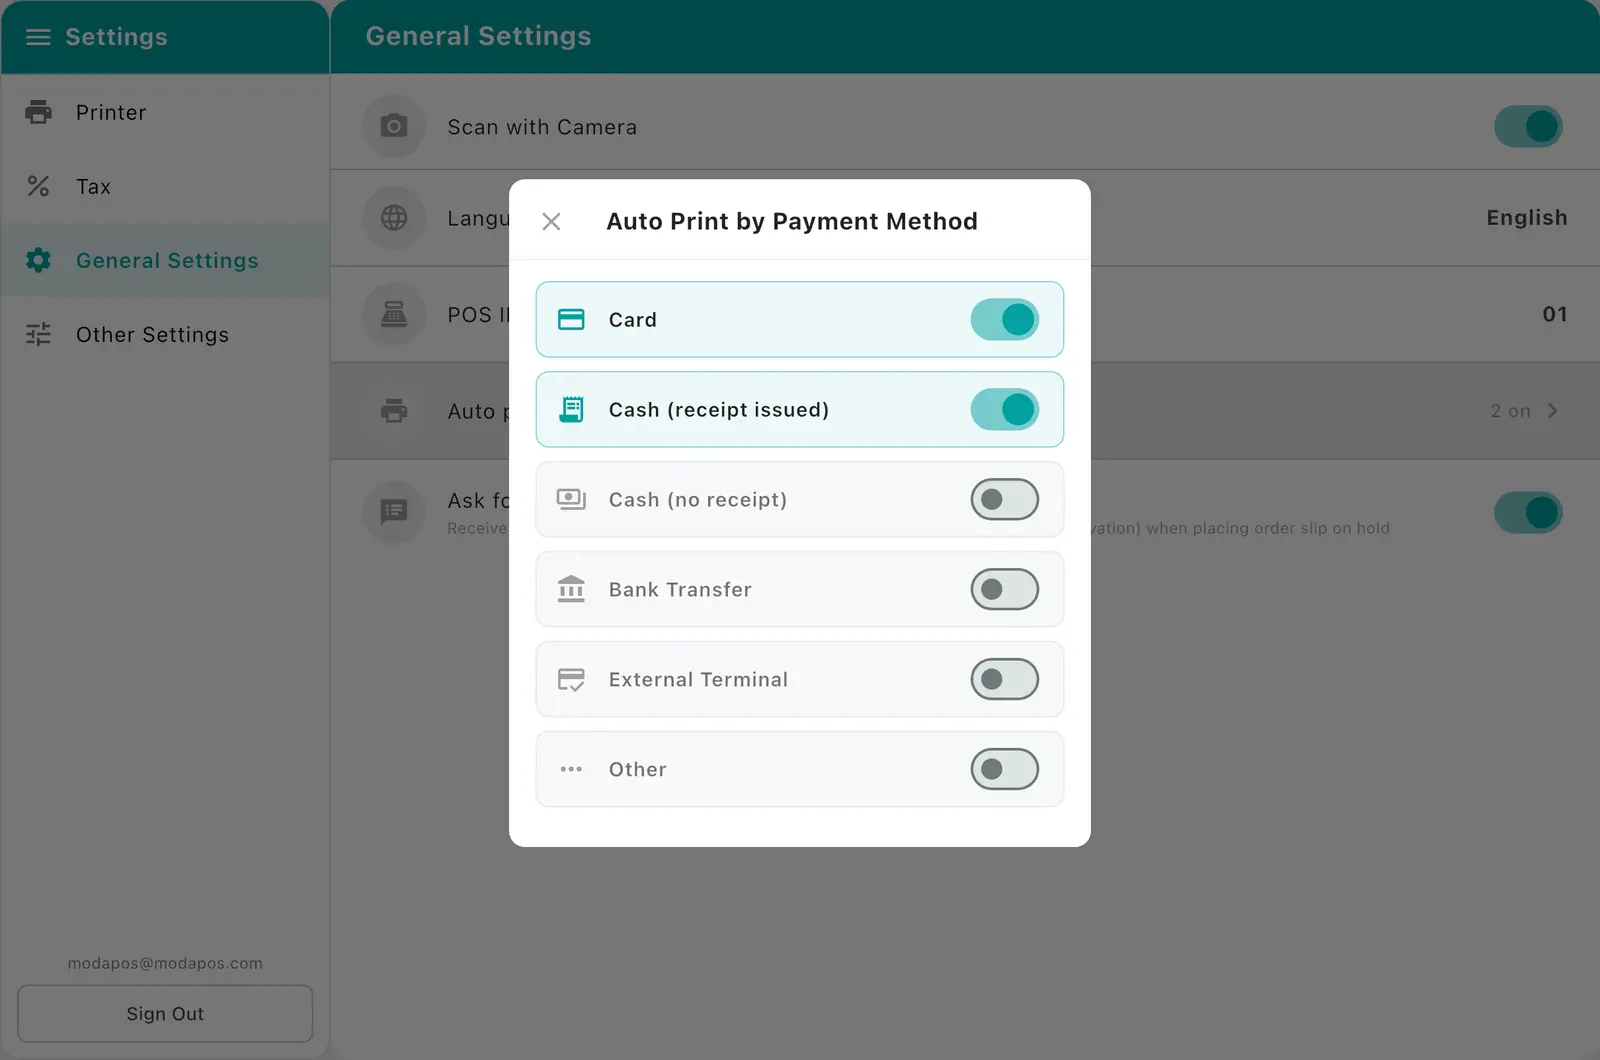
The current state shows above the list as Off or N on.
4. Opening the drawer from the sales screen
Use this when you need the drawer open outside a sale — making change, cashing up.
1Tap the
⋮button at the top right of the sales screen.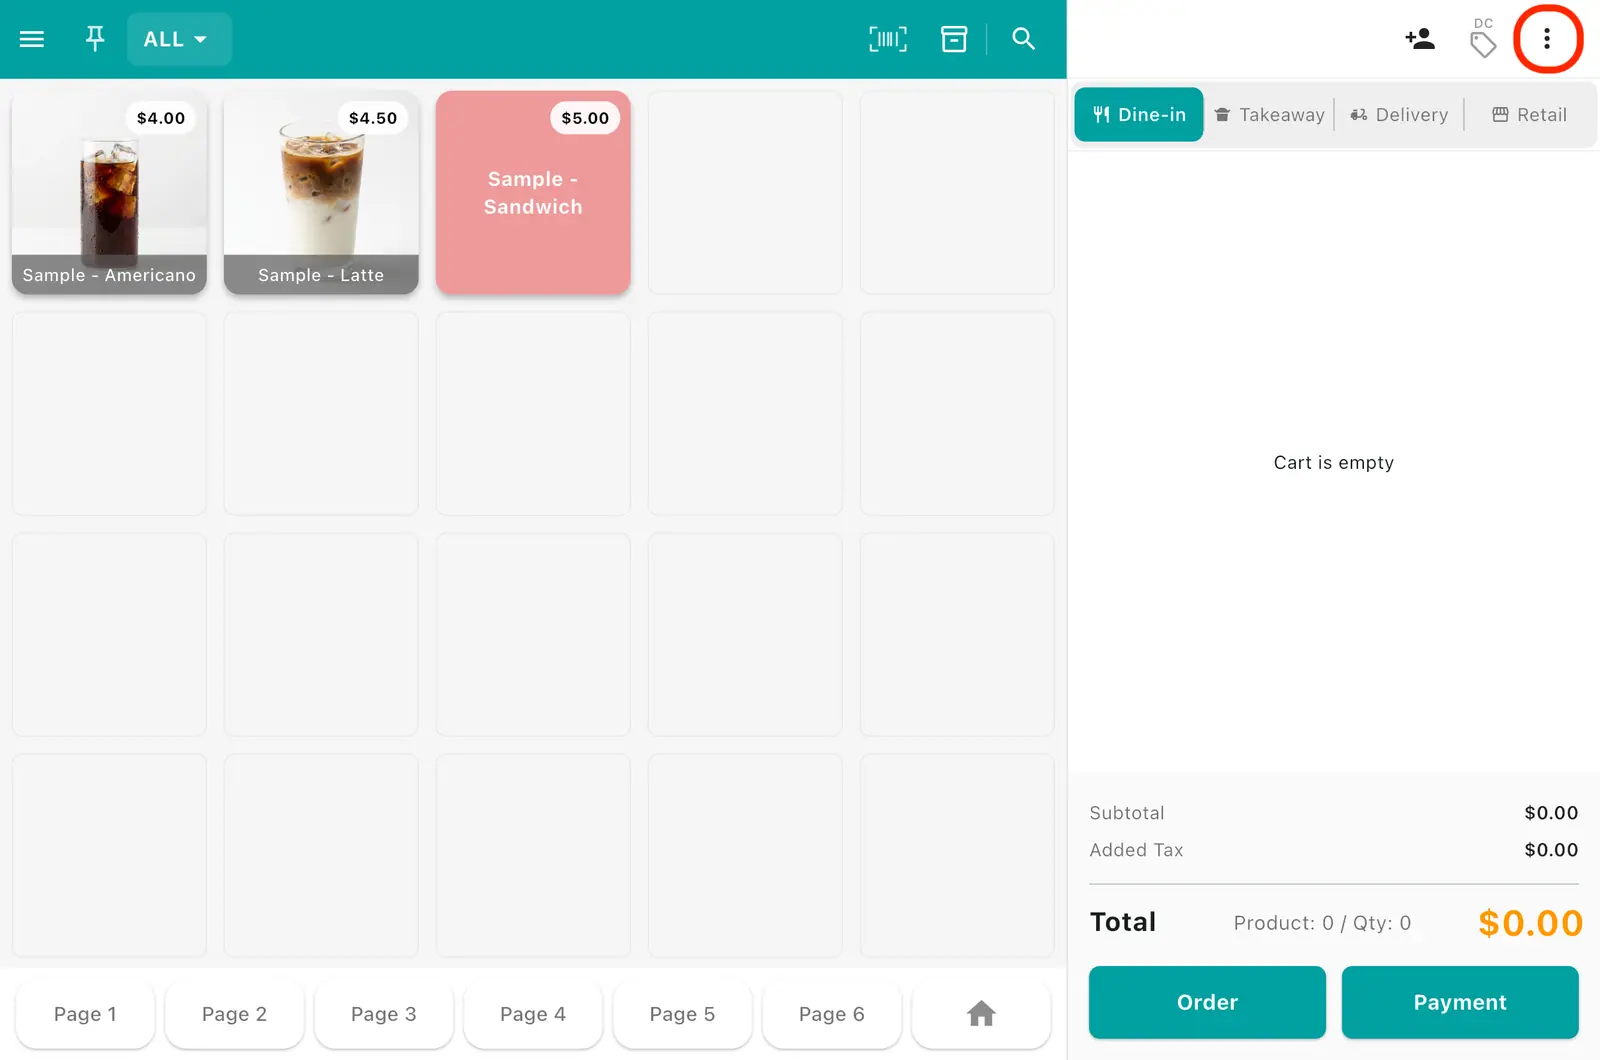
2Tap Open cash drawer in the dropdown menu.
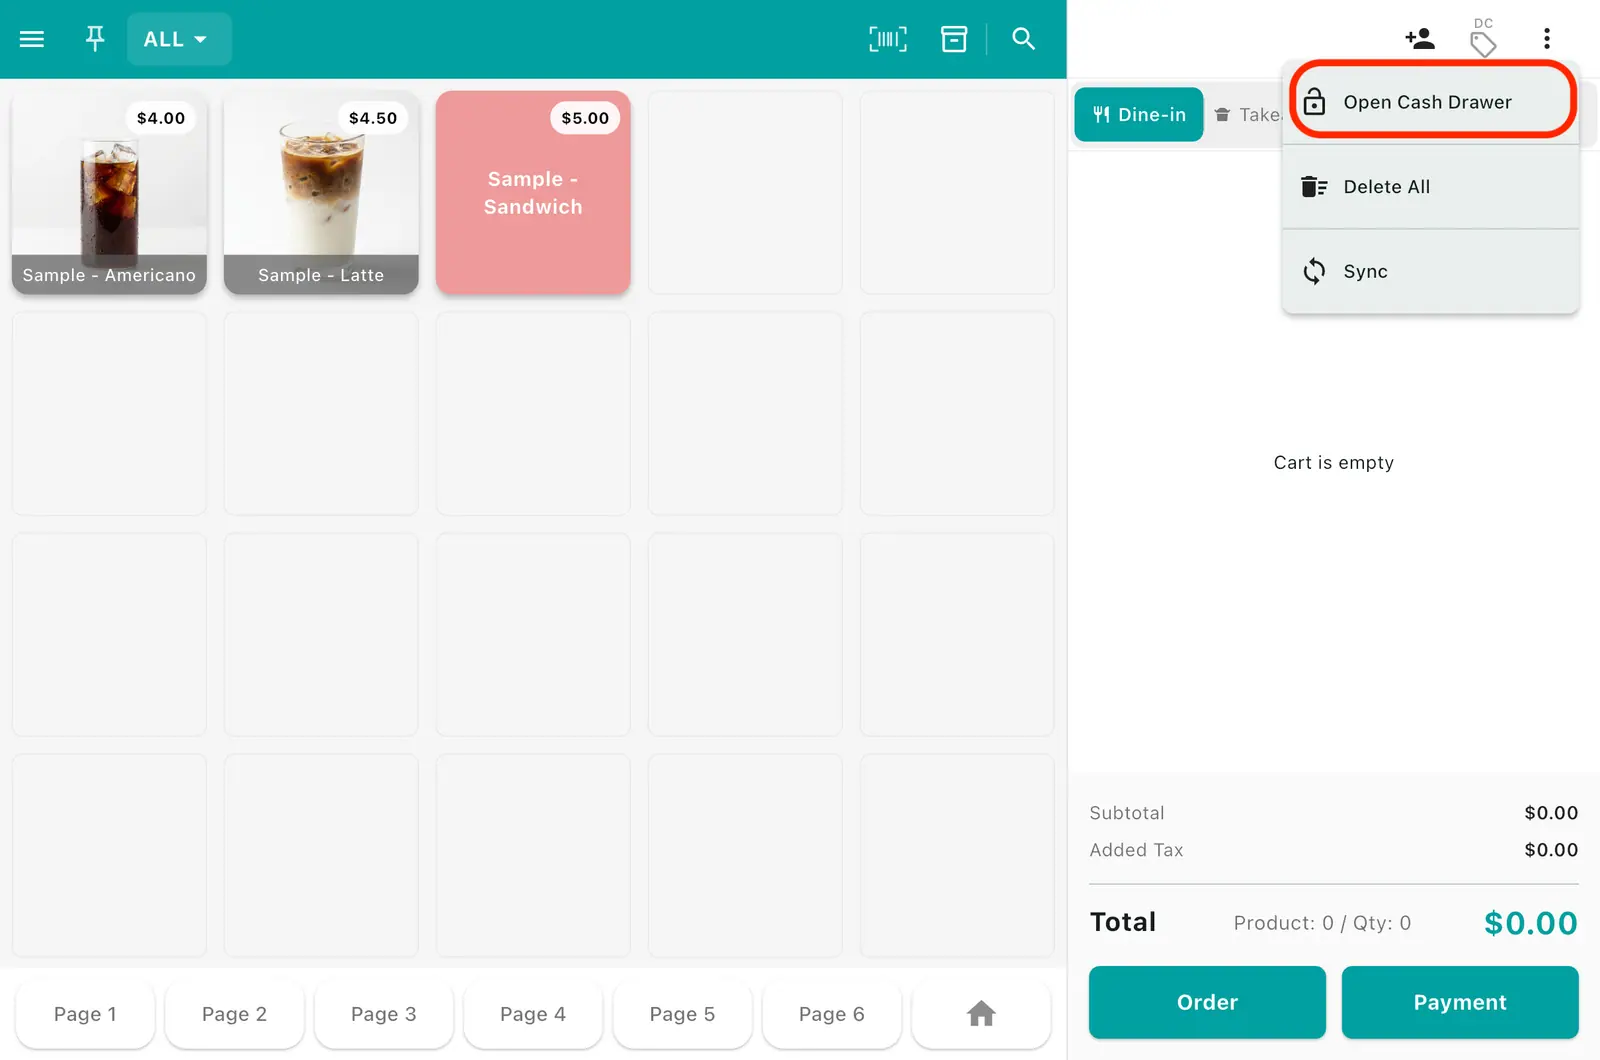
This button only works if Use cash drawer is on in the printer settings.
5. Barcode scanner
A barcode scanner connected over USB or Bluetooth needs no setup. Plug it into the tablet and the app picks it up; scanning a product barcode on the sales screen adds it straight to the cart.
With no scanner, tap Scan barcode at the top of the sales screen to use the tablet camera. You can switch between front and rear cameras, and continuous scanning is supported: if a barcode matches exactly one product the scanner stays open so you can keep going, and if several products share a barcode a picker appears and the scanner closes.
6. Card terminal
Settings → Card terminal requires reseller (installer) authentication. It is not a screen stores configure themselves. If you have trouble with a card terminal, contact the company that installed it.