Managing customers
Link a customer to the ticket to earn points now and spend them next time.
Turn the points feature on first: Settings → Other → Points
1. Finding / registering a customer
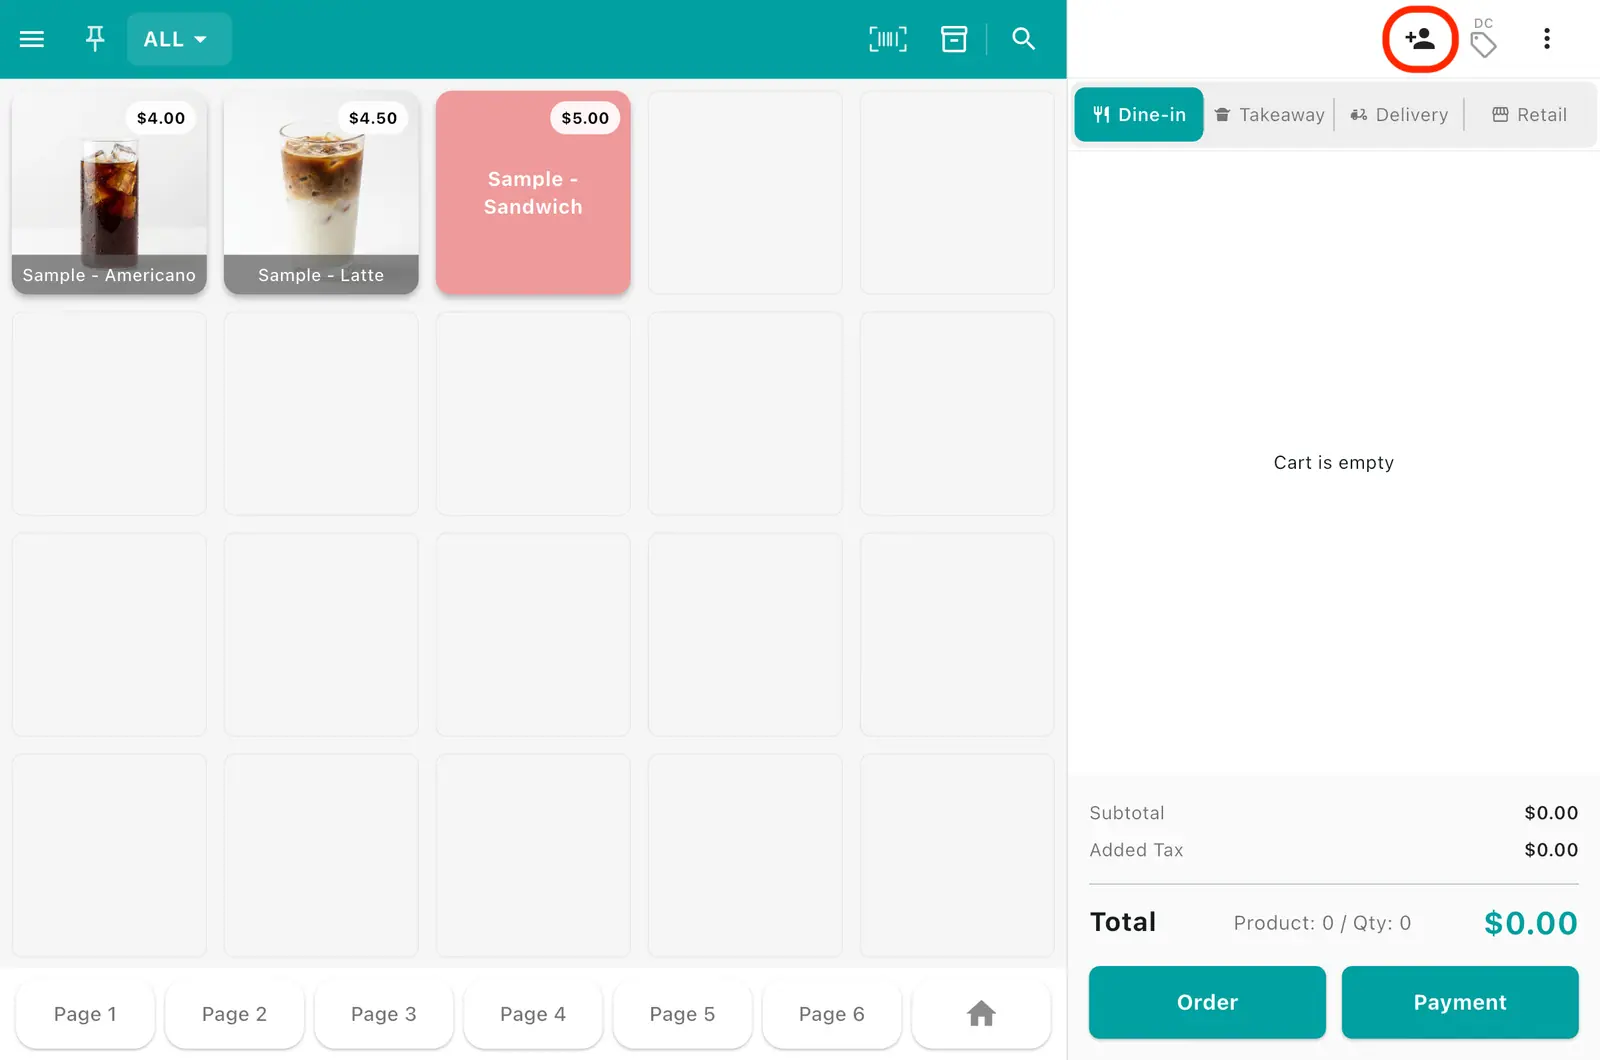
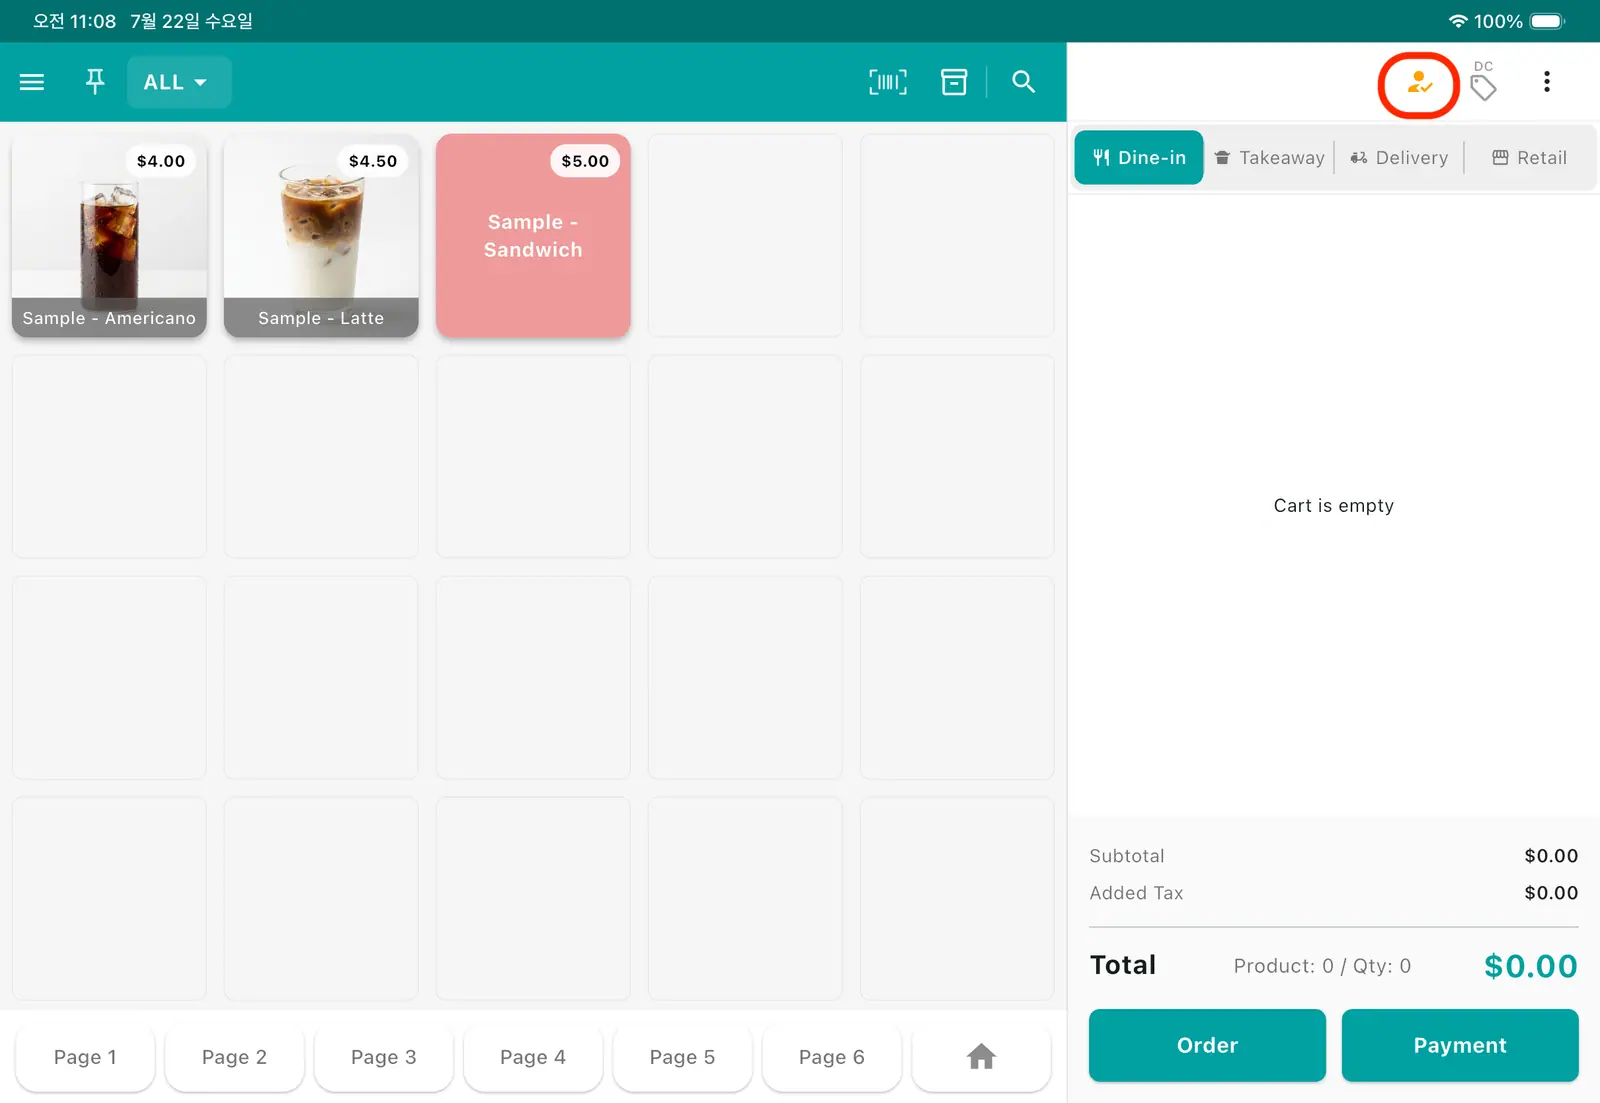
1Tap the person icon at the top right of the sales screen.
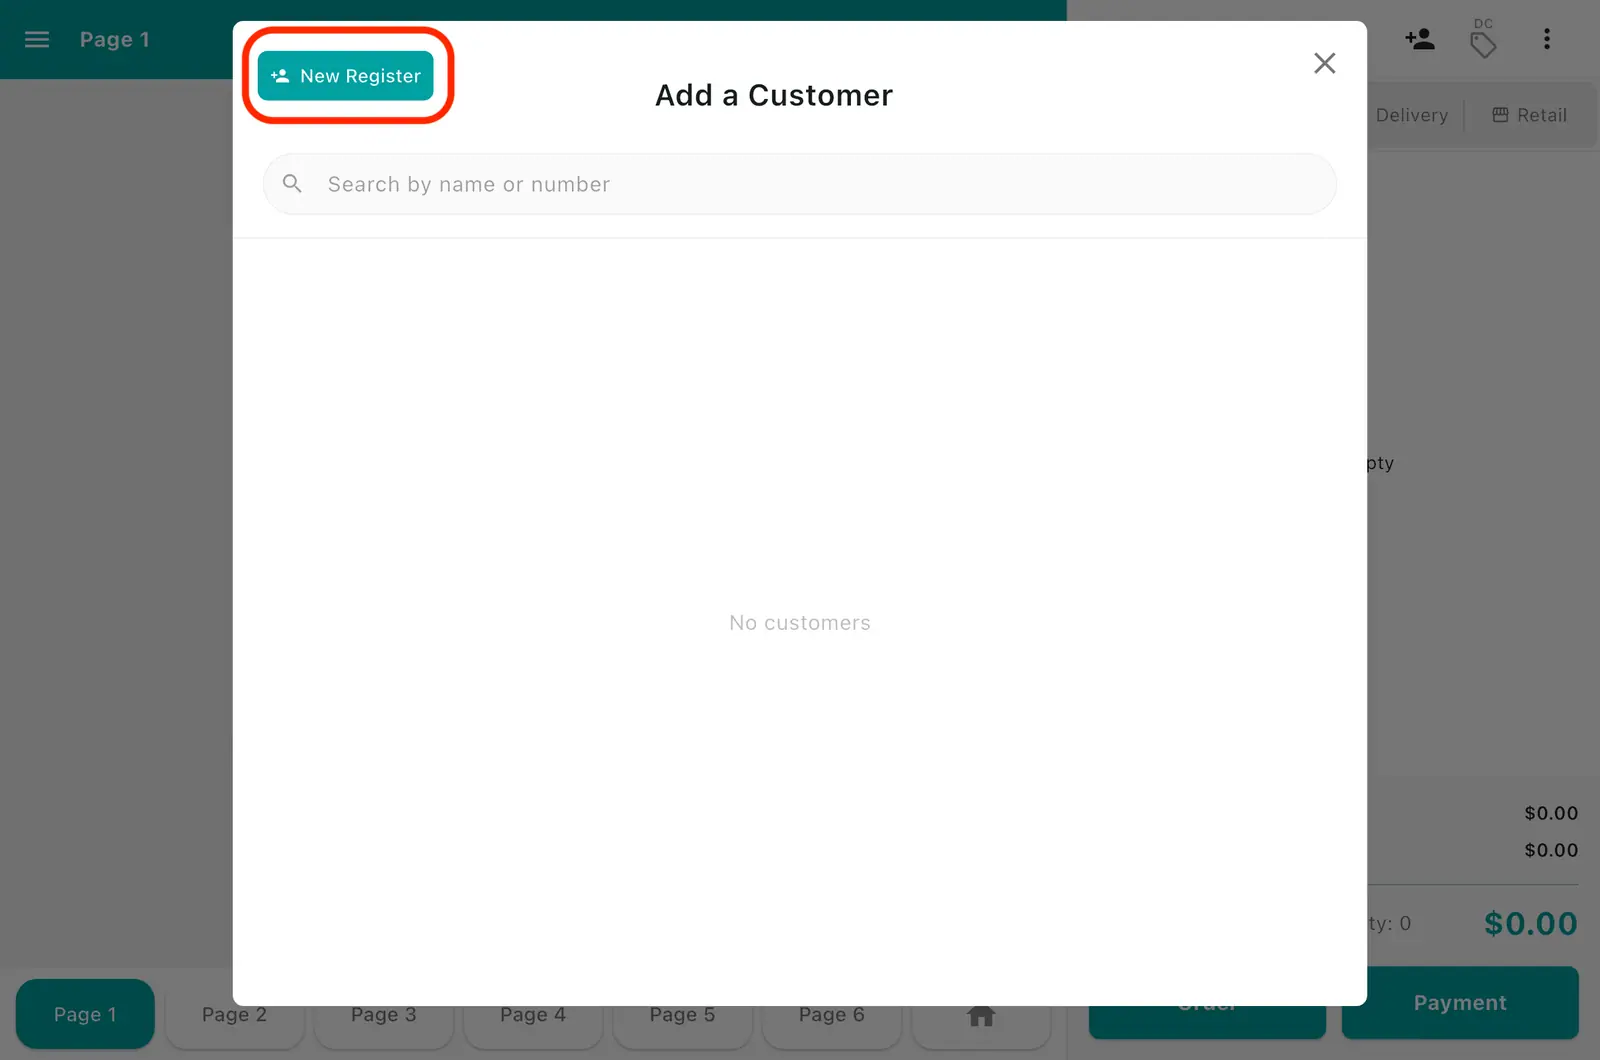
2The customer search screen opens. Search by phone number, or tap New registration if it is the first time.
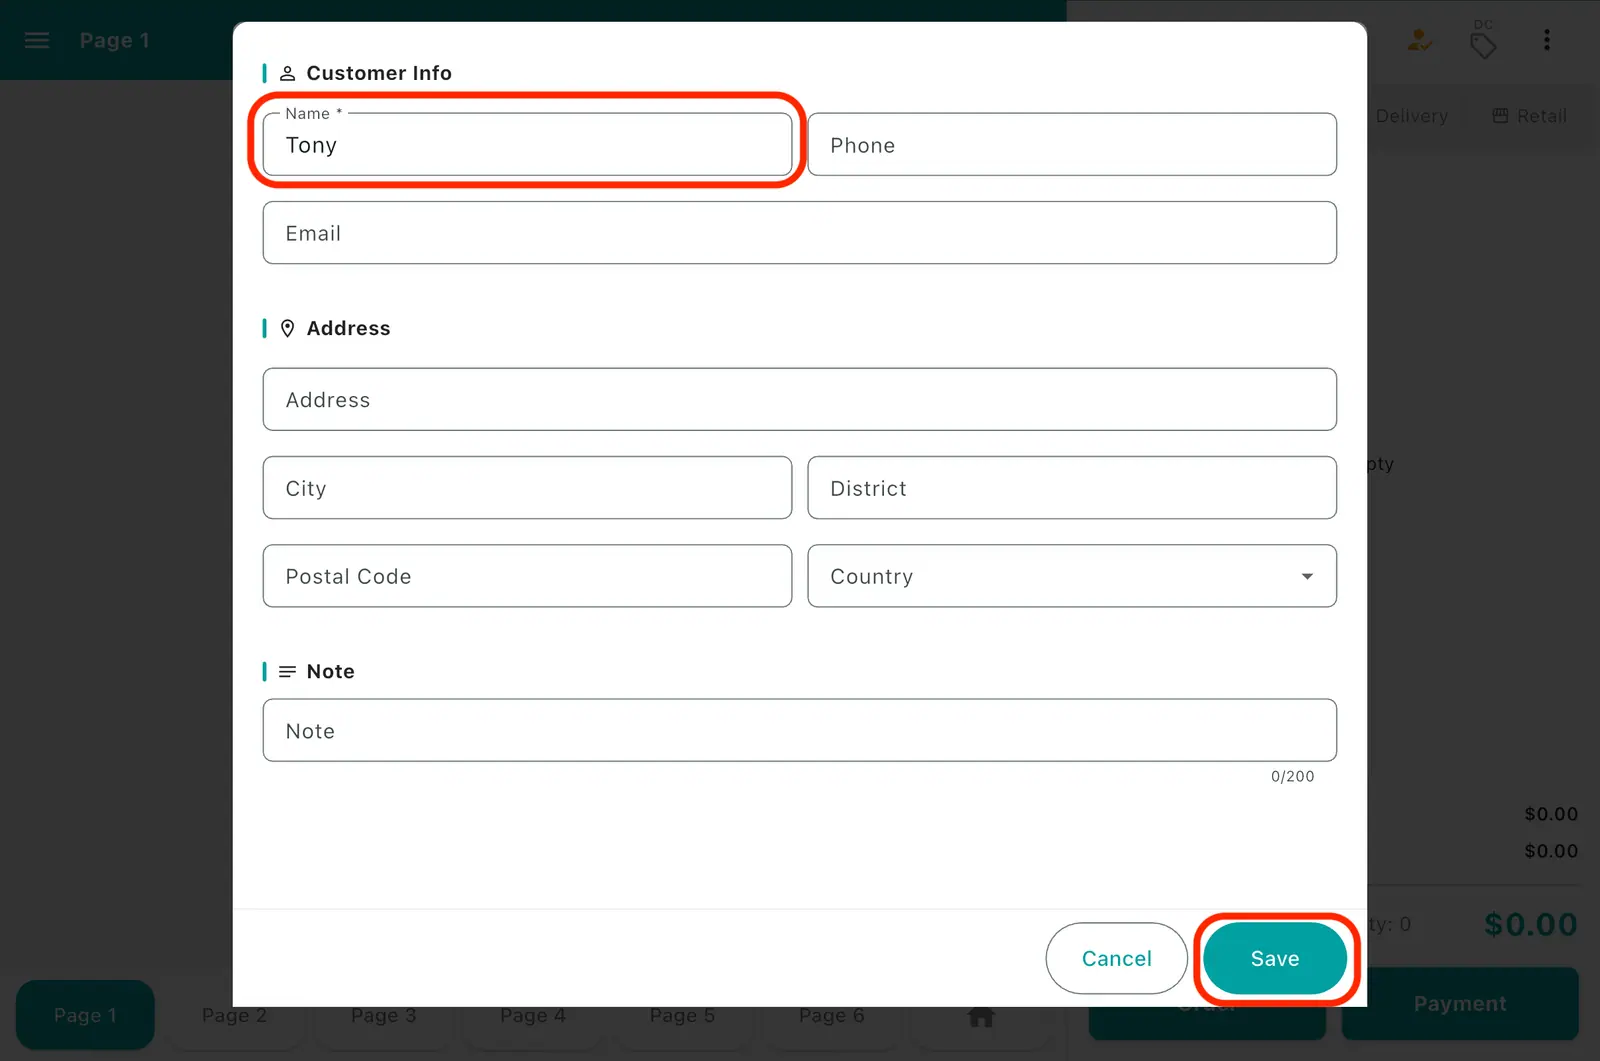
3Enter the details in the customer registration popup and tap Save. Stores in Korea require a phone number; stores outside Korea require a name.
4Once linked, the person icon at the top right turns gold — a sign the customer is attached to this ticket.
2. Spending points
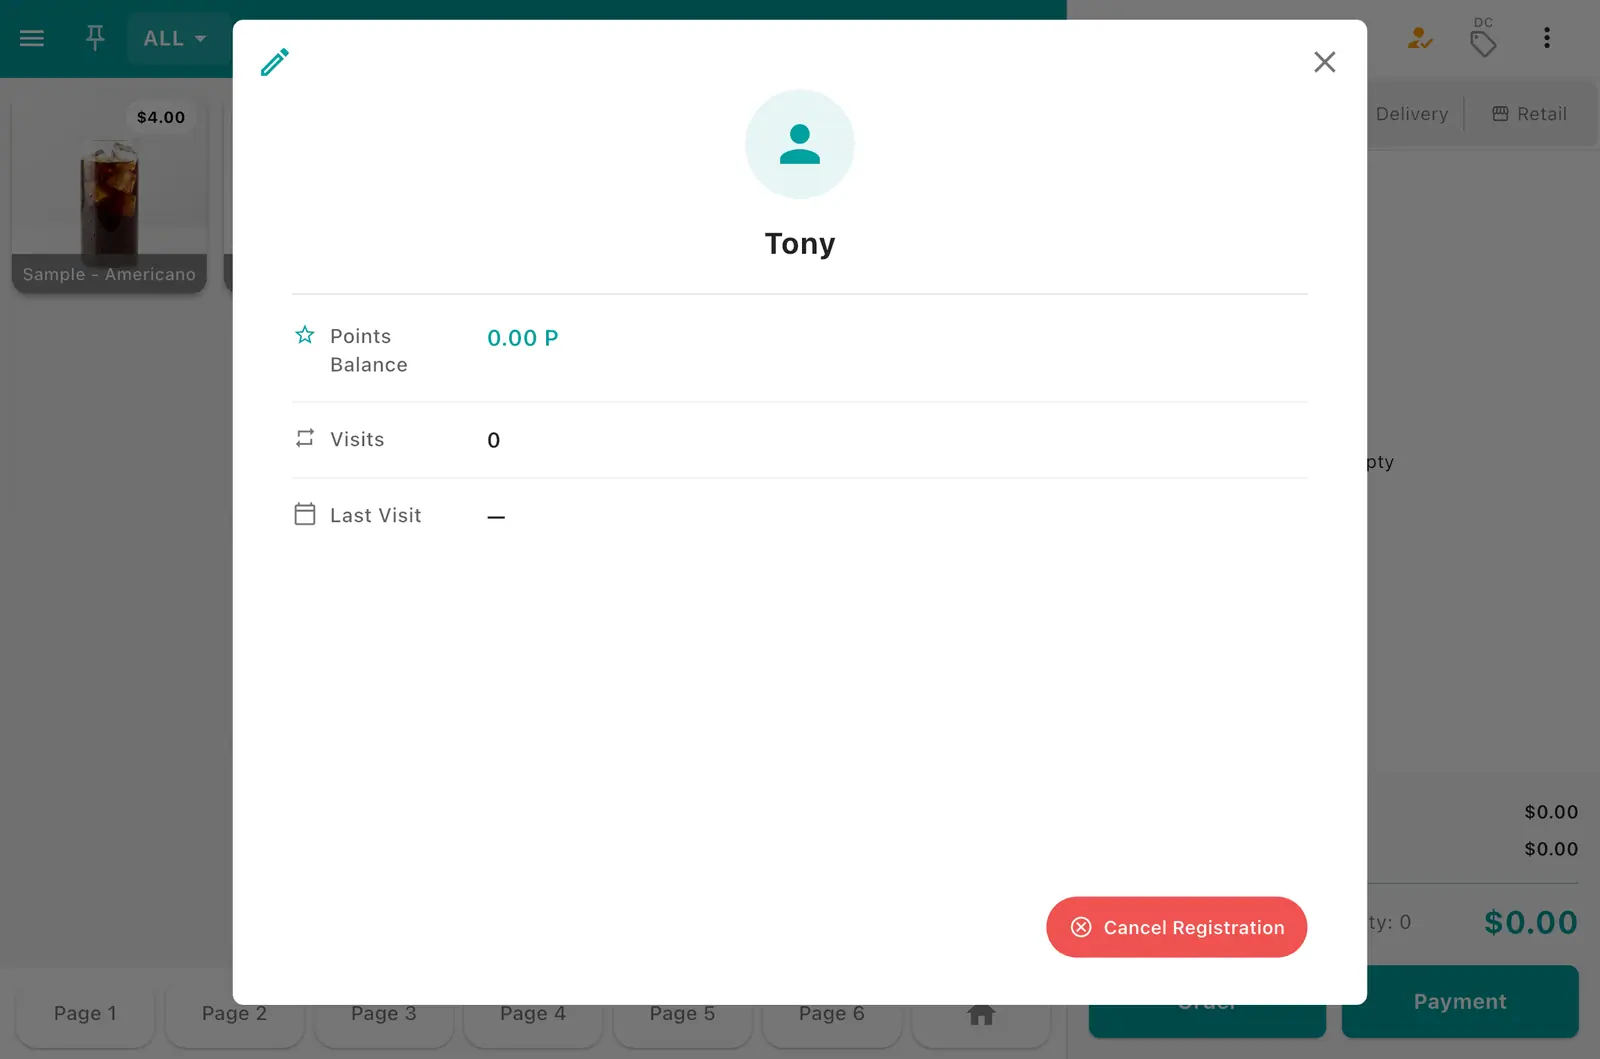
1With no points to spend, tapping the gold person icon shows only the customer info UI. (The points-spending screen does not appear.)
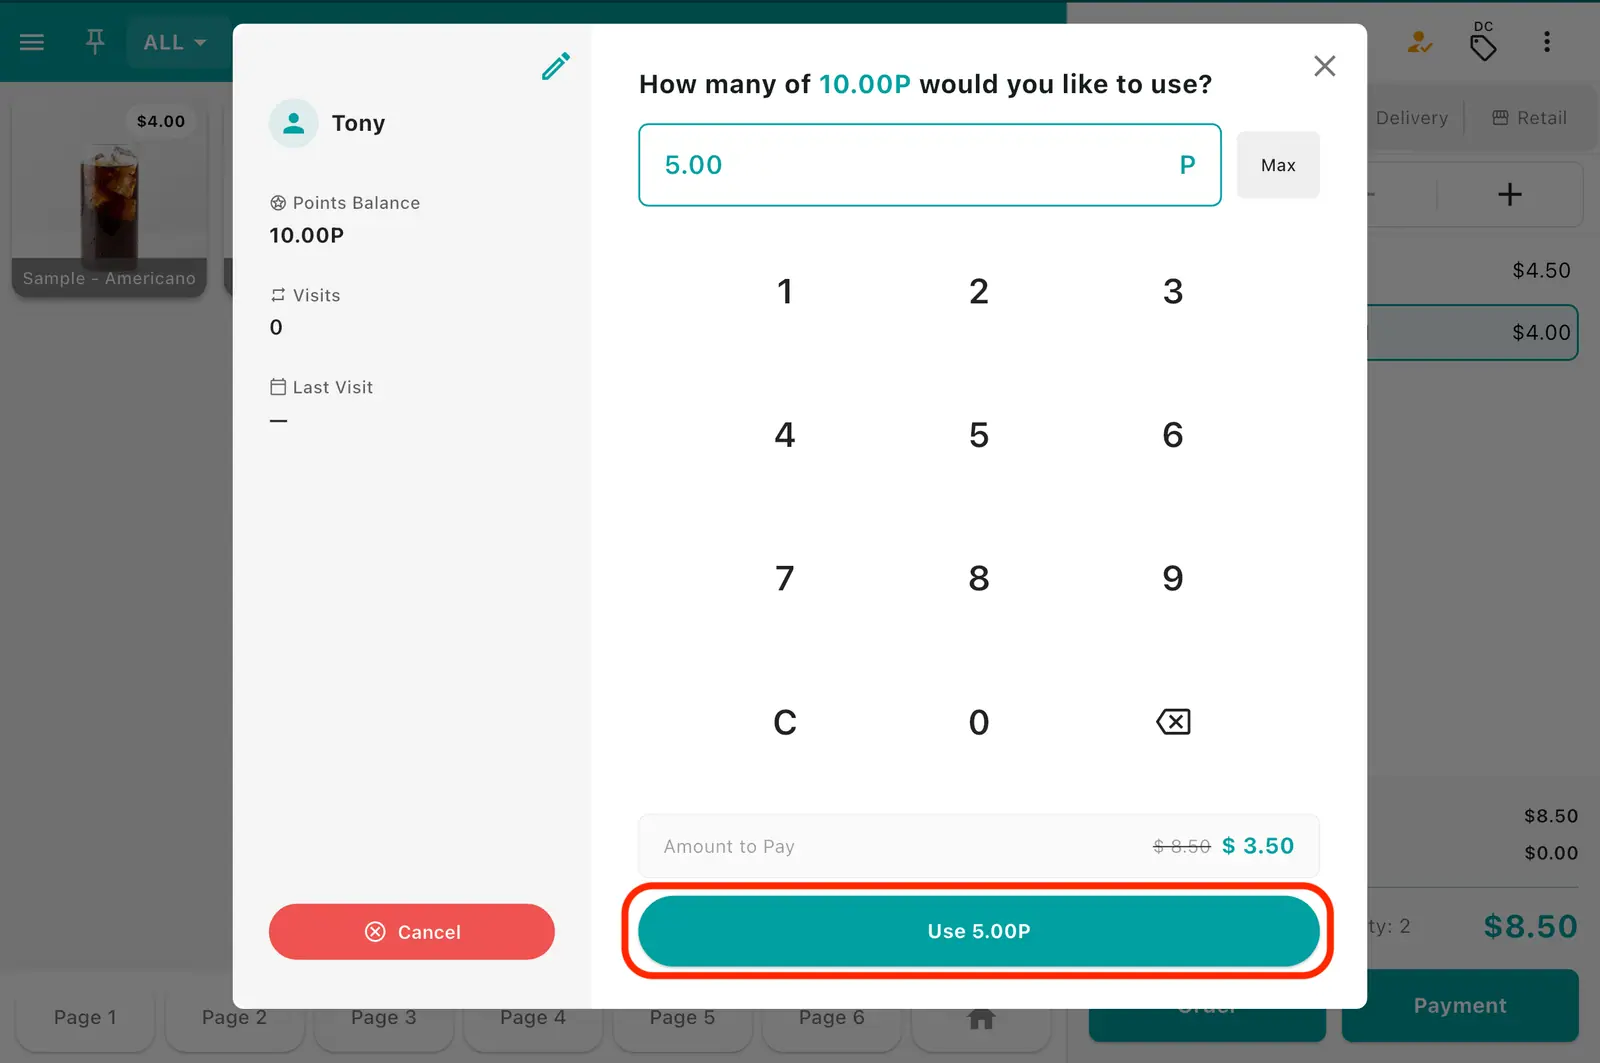
2When there are points to spend, the Spend points UI appears instead. Enter the amount and tap Use.
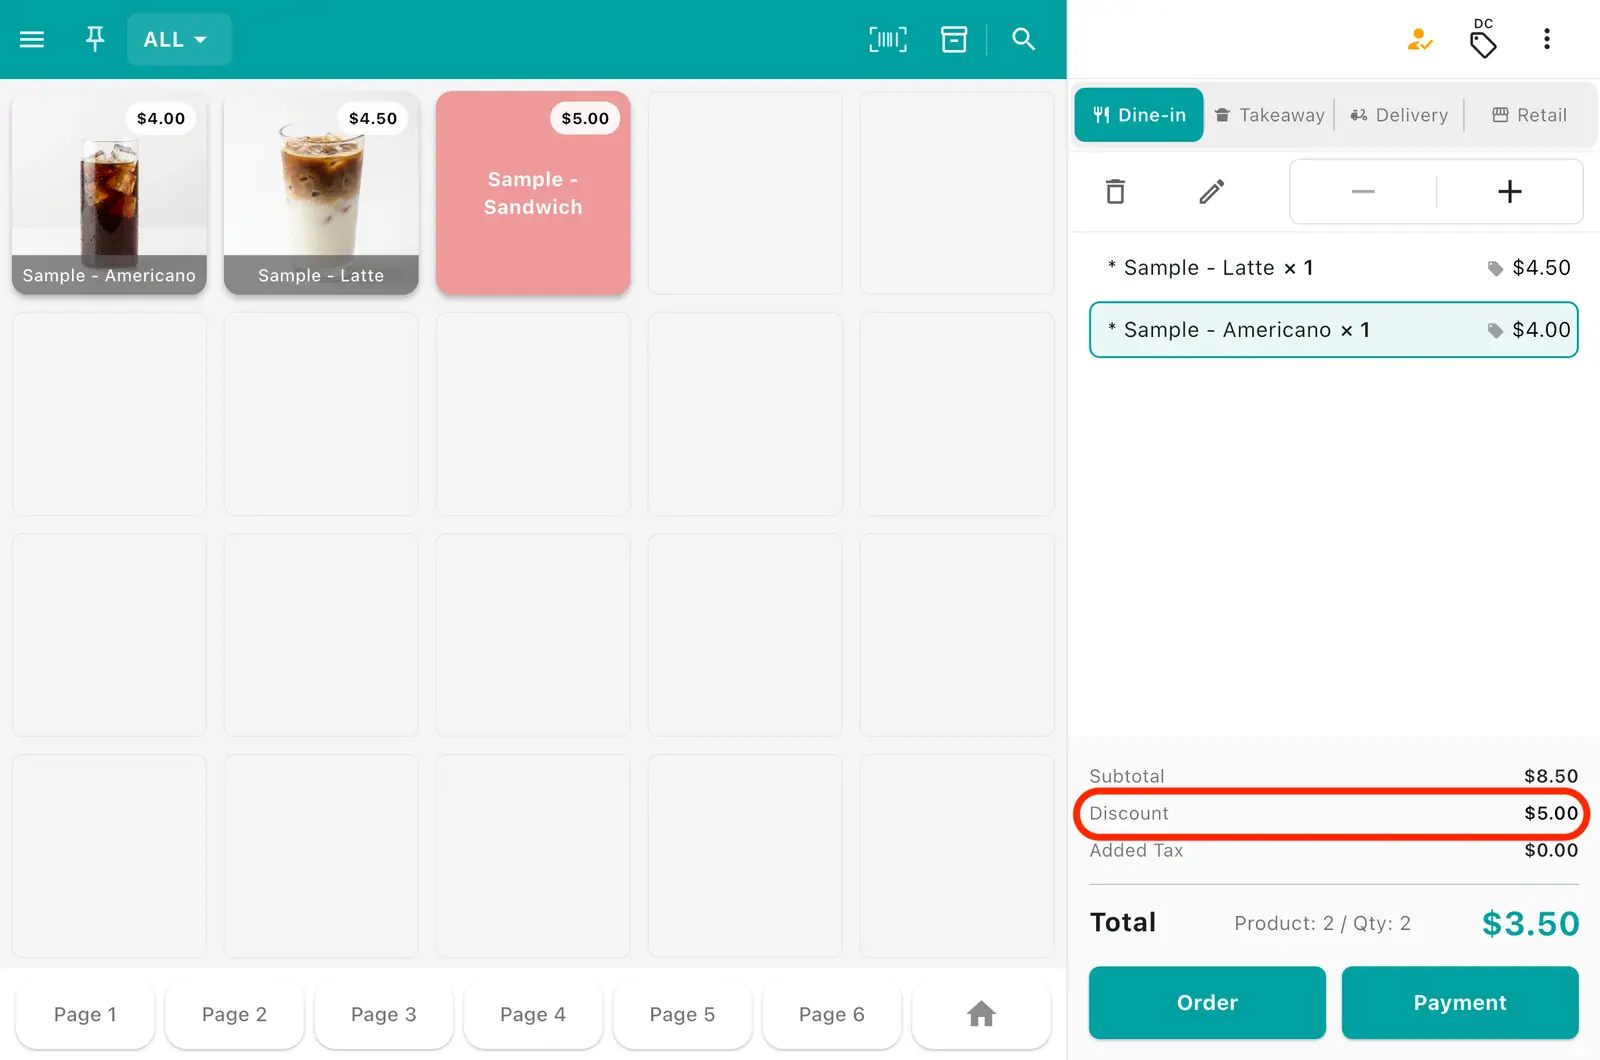
3The discounted amount appears at the bottom right of the sales screen.
3. Earning points
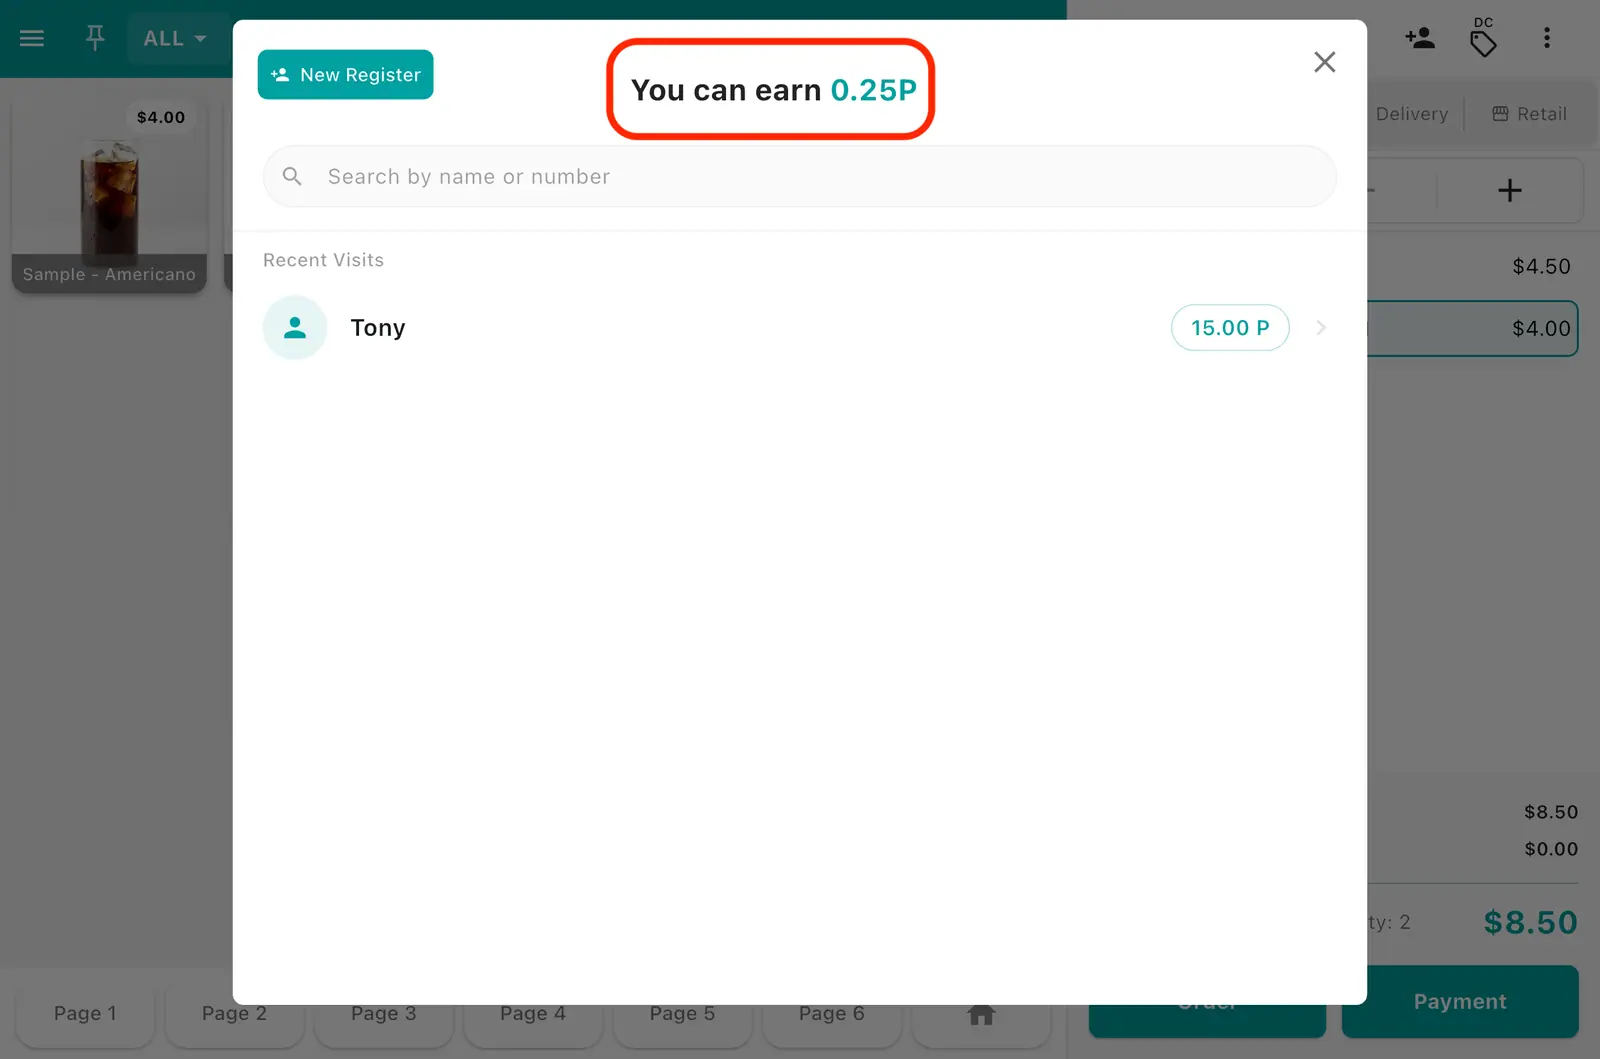
With a customer linked, points are earned automatically at payment. The cart shows what they will earn in advance as "You can earn ○○P". The rate and eligible products are set in settings.
1The cart shows "You can earn ○○P" in advance.
4. Editing points directly
To add or subtract points by hand, use Customer management in Back Office.
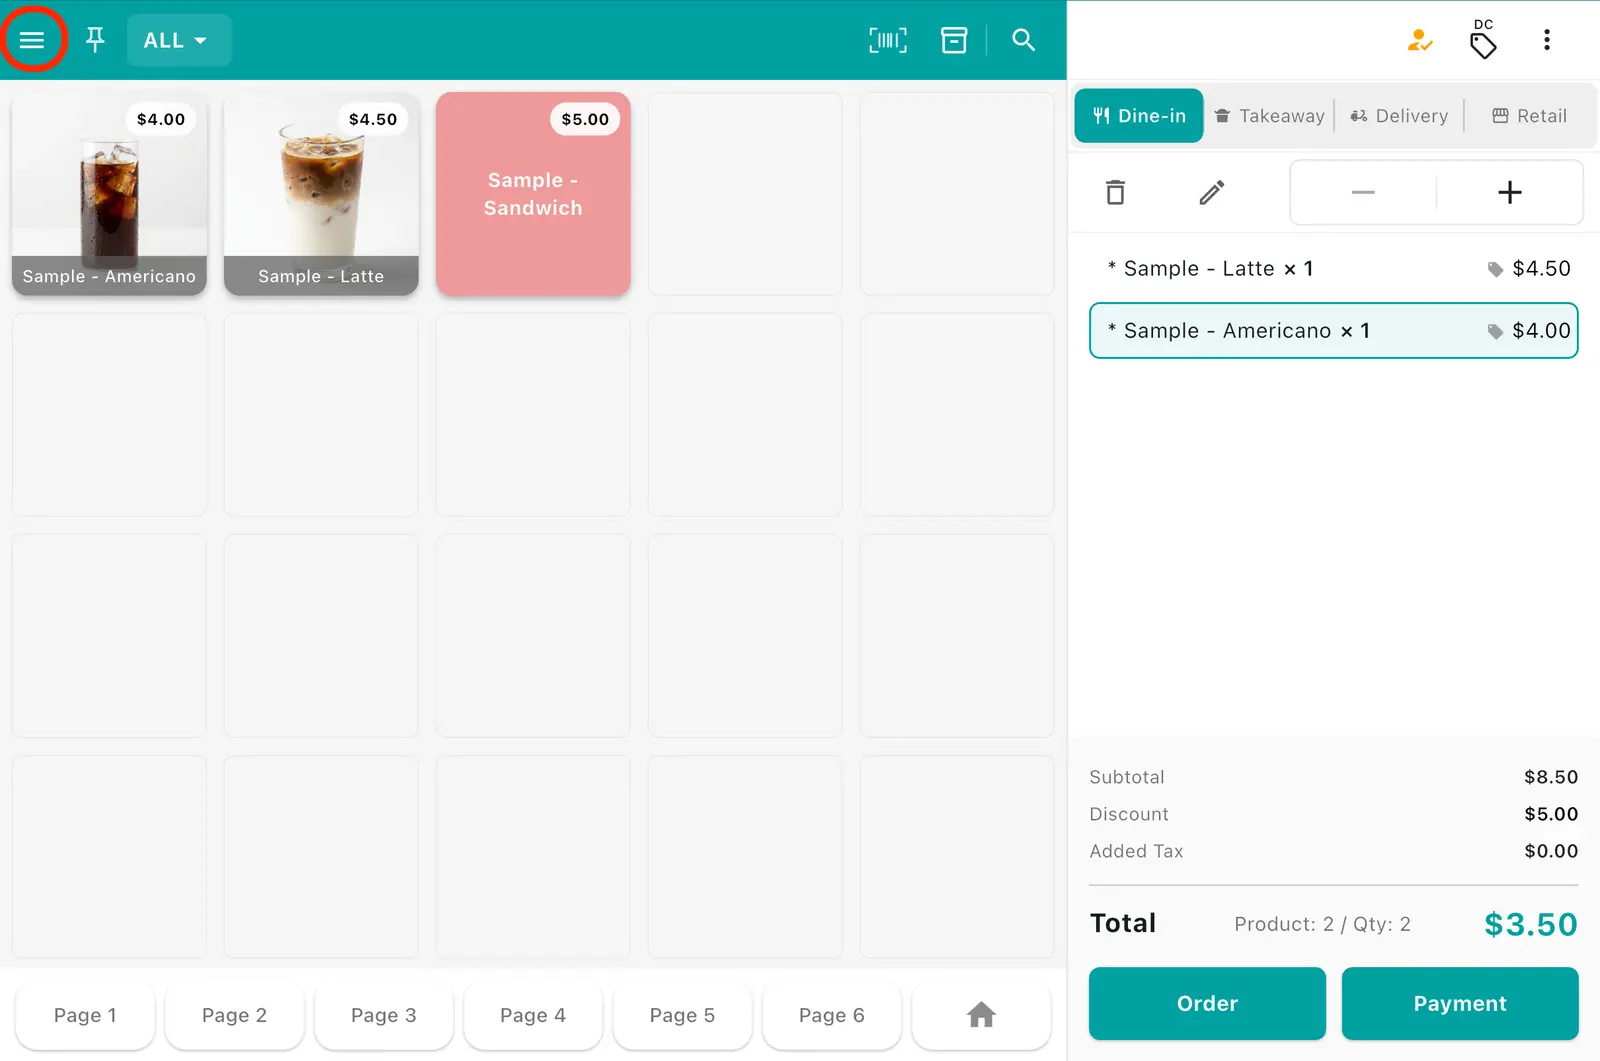
1Tap the ☰ menu icon at the top left.
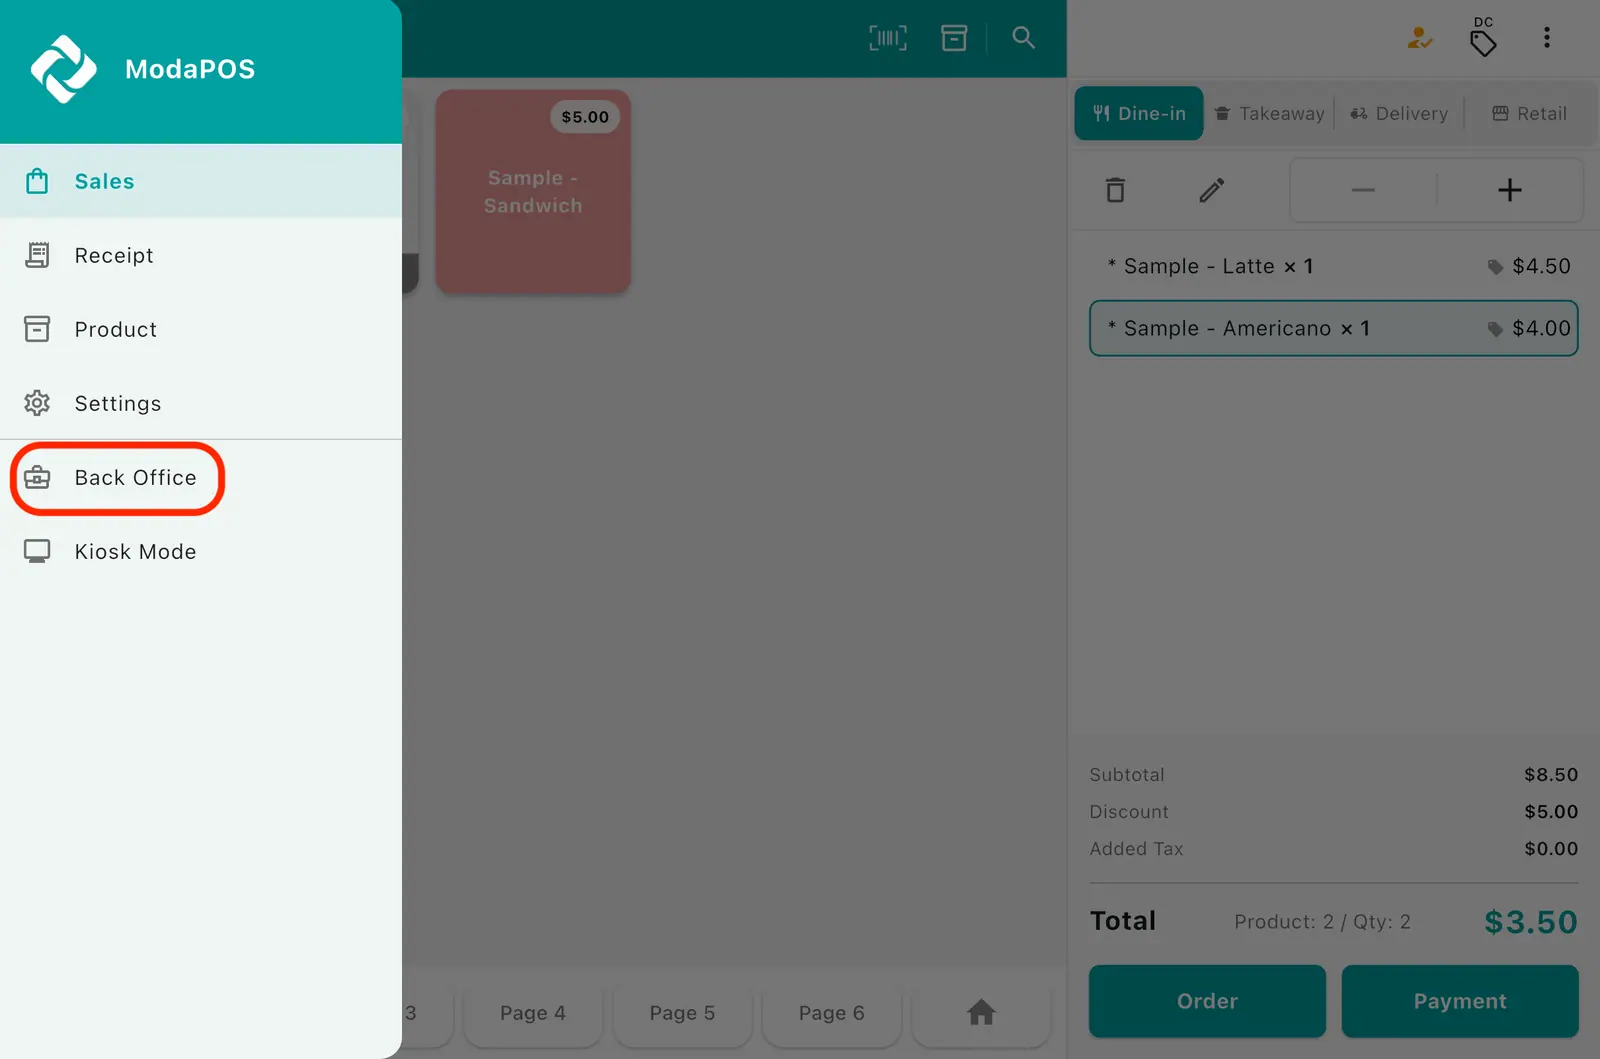
2Tap Back Office in the side menu.
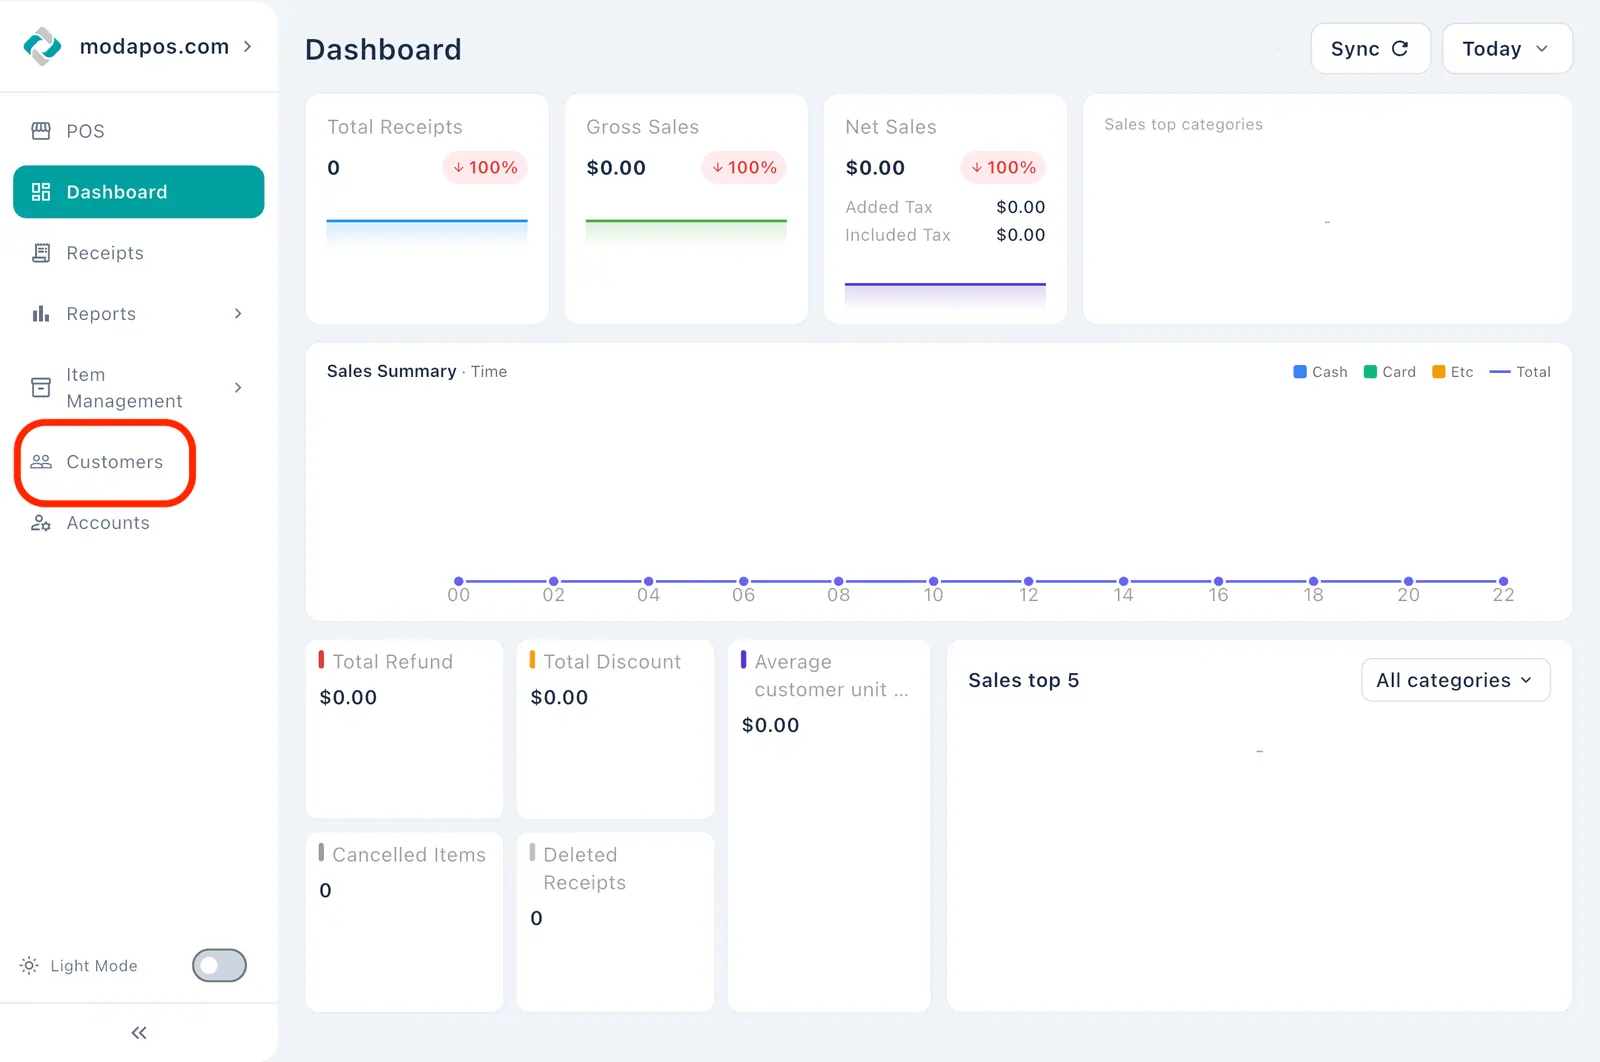
3In the Back Office screen, tap Customer management in the side menu.
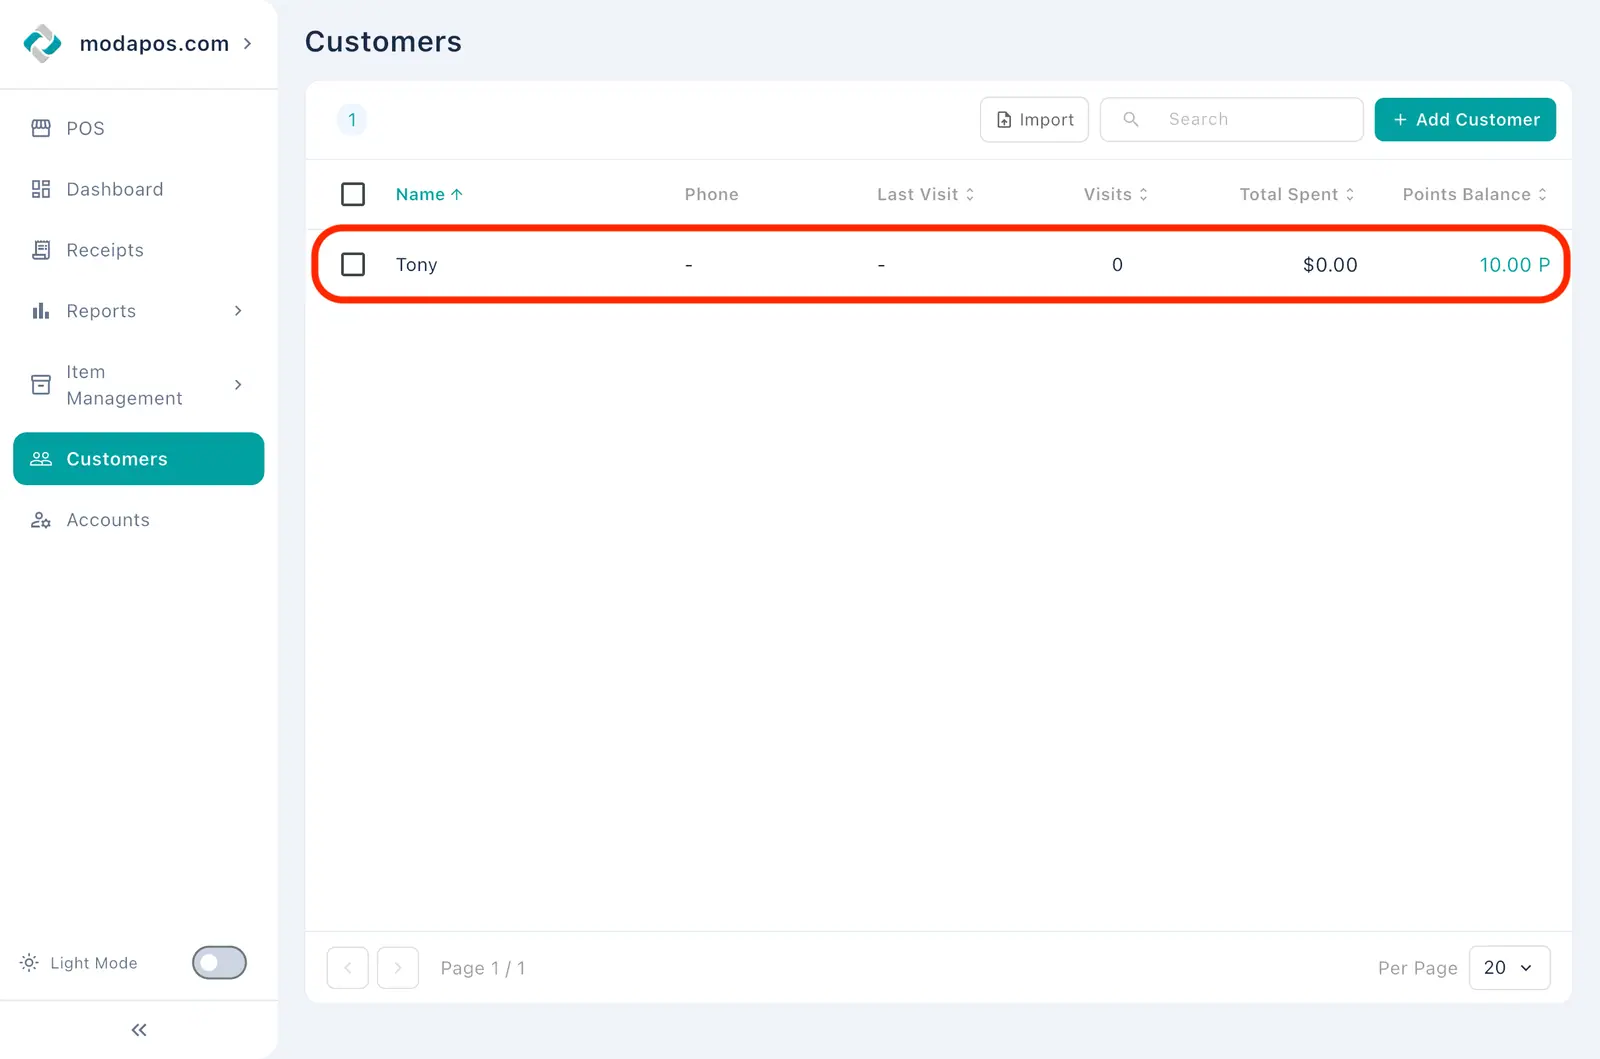
4The customer list appears. Tap the customer row you want to add points to.
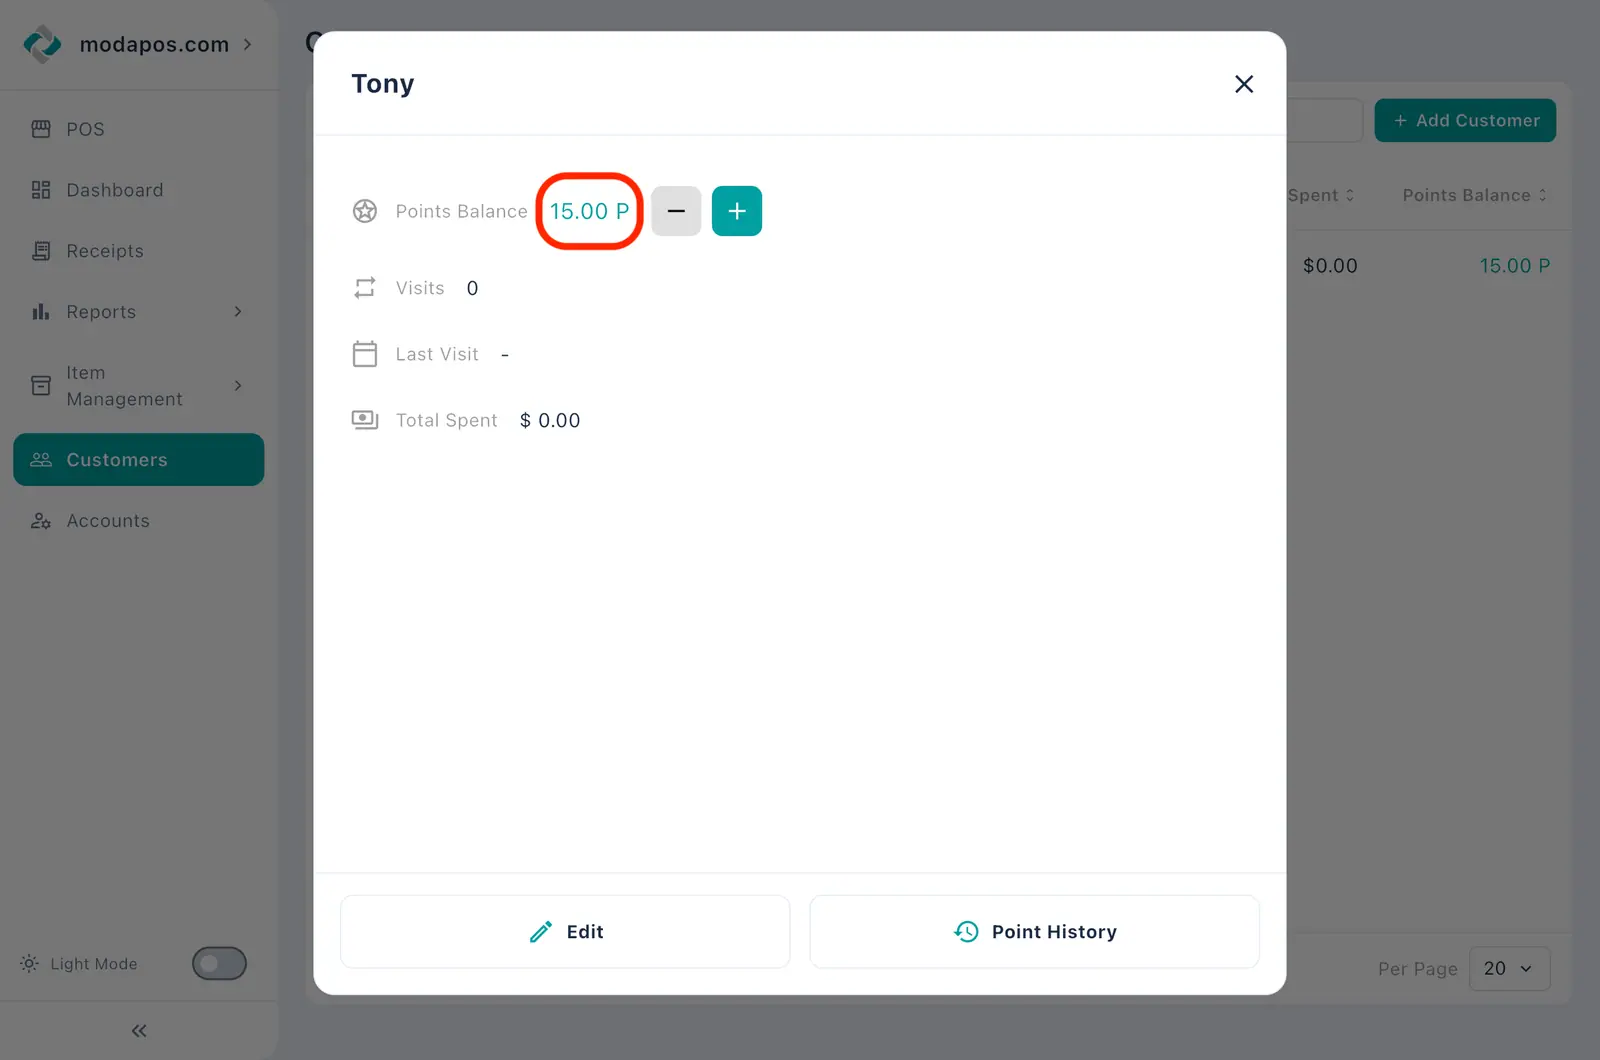
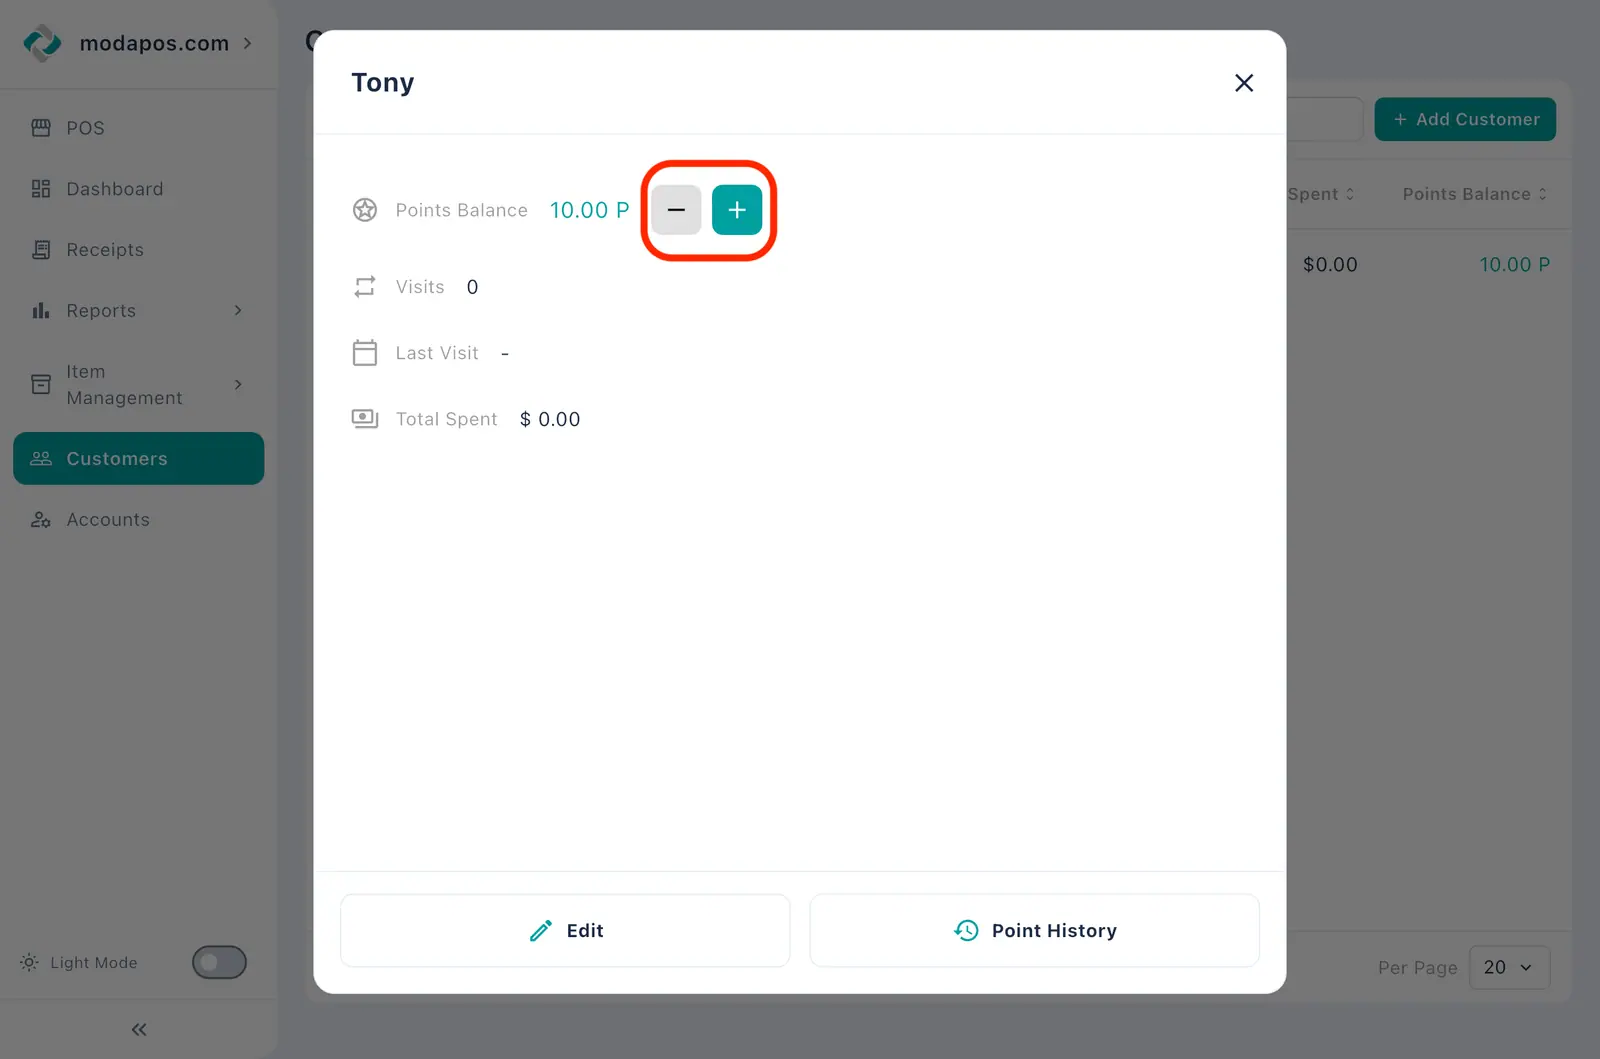
5The customer popup opens. Tap the - + buttons to the right of Point balance.
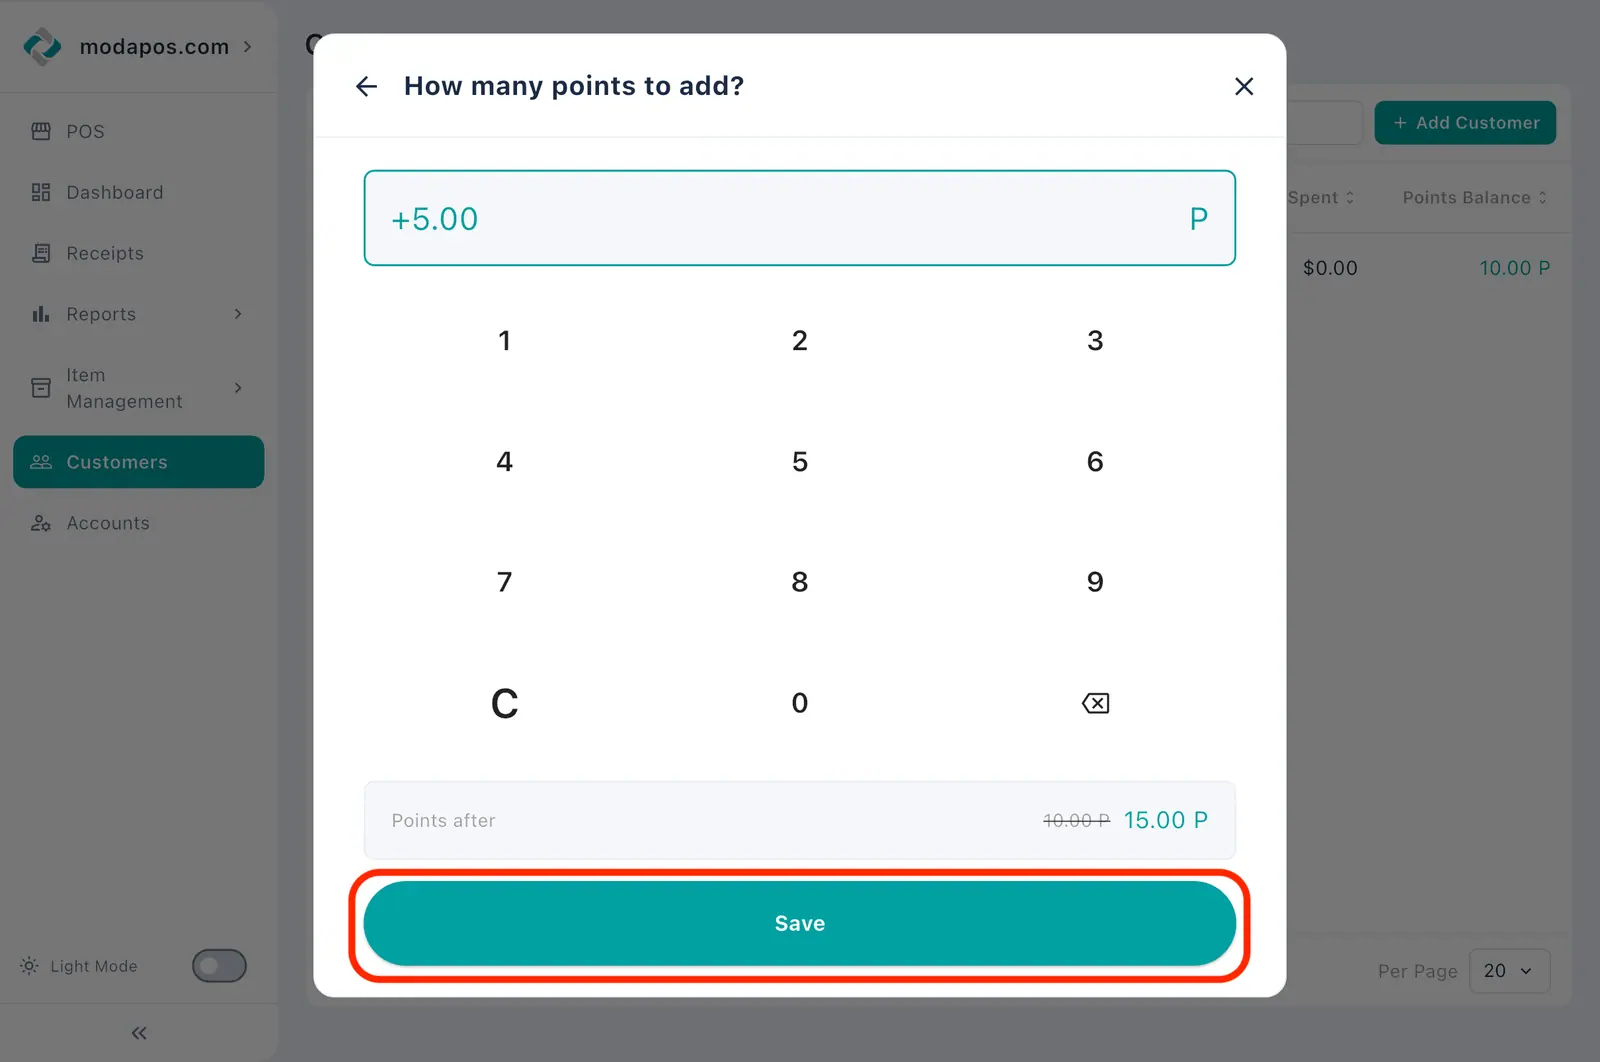
6Enter the amount to add (e.g. 500) and tap Save.
7Confirm the point balance has increased by 500.