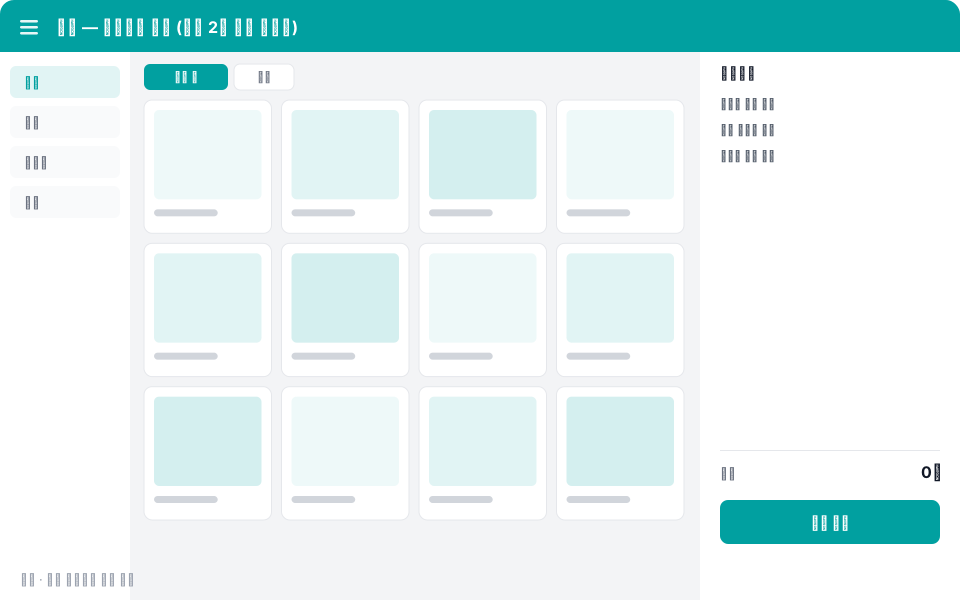
Adding products
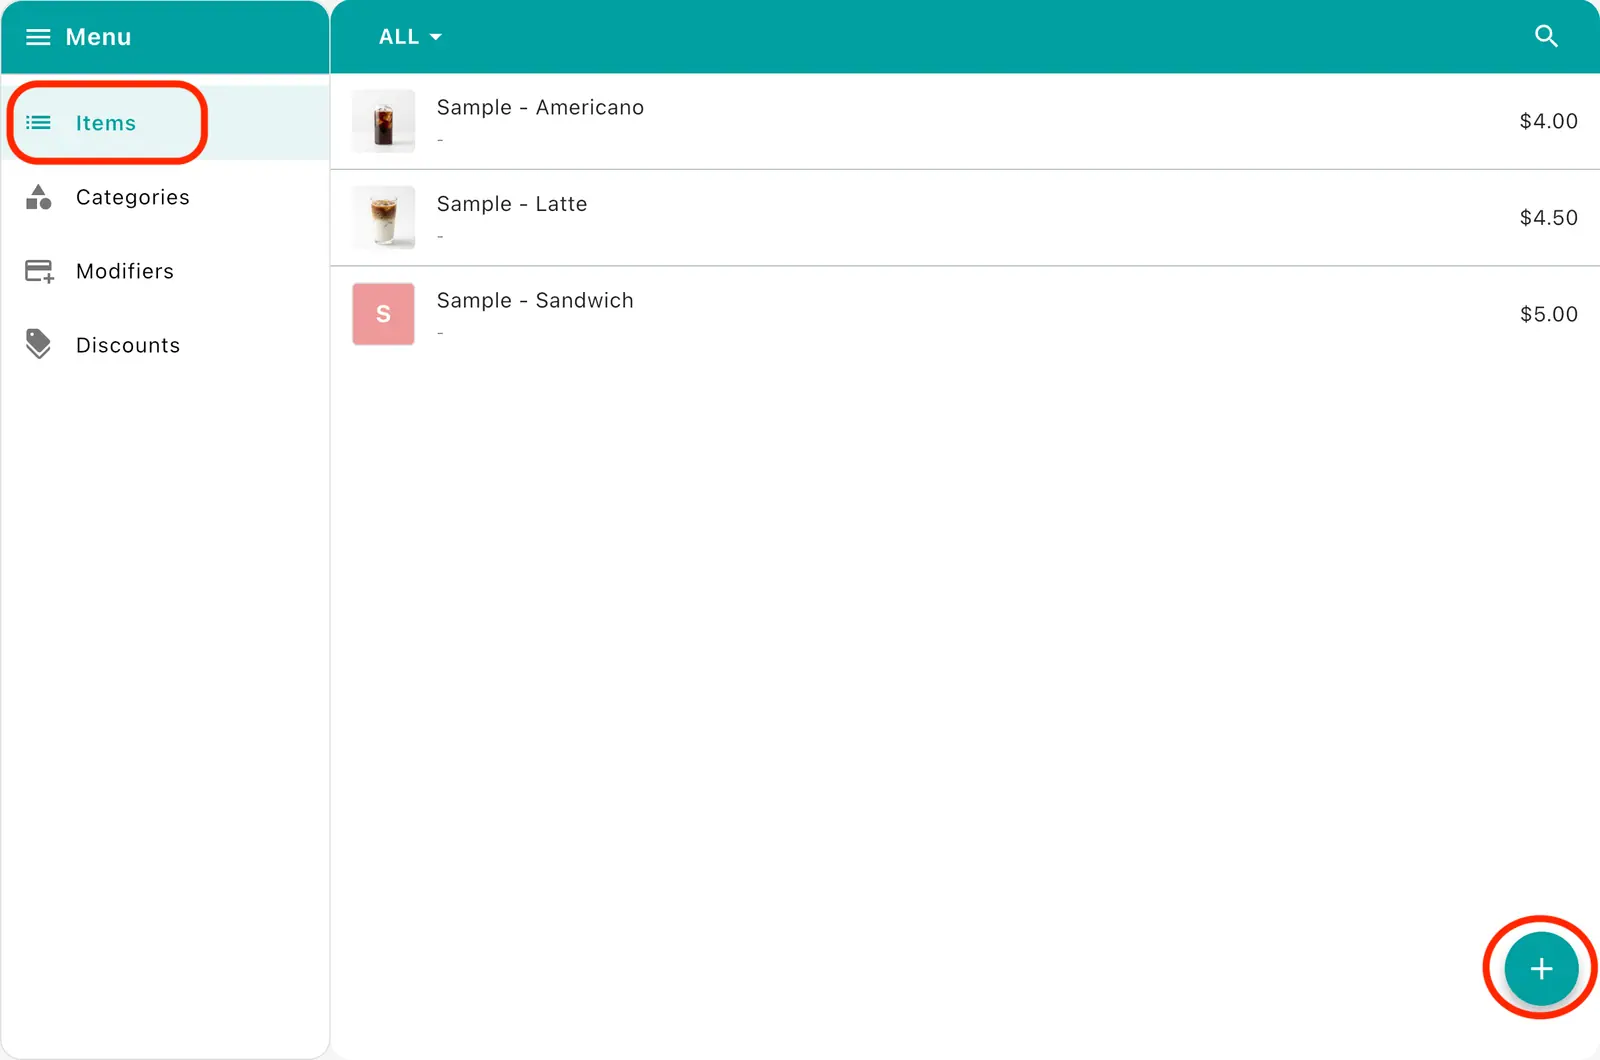
1. Opening product management
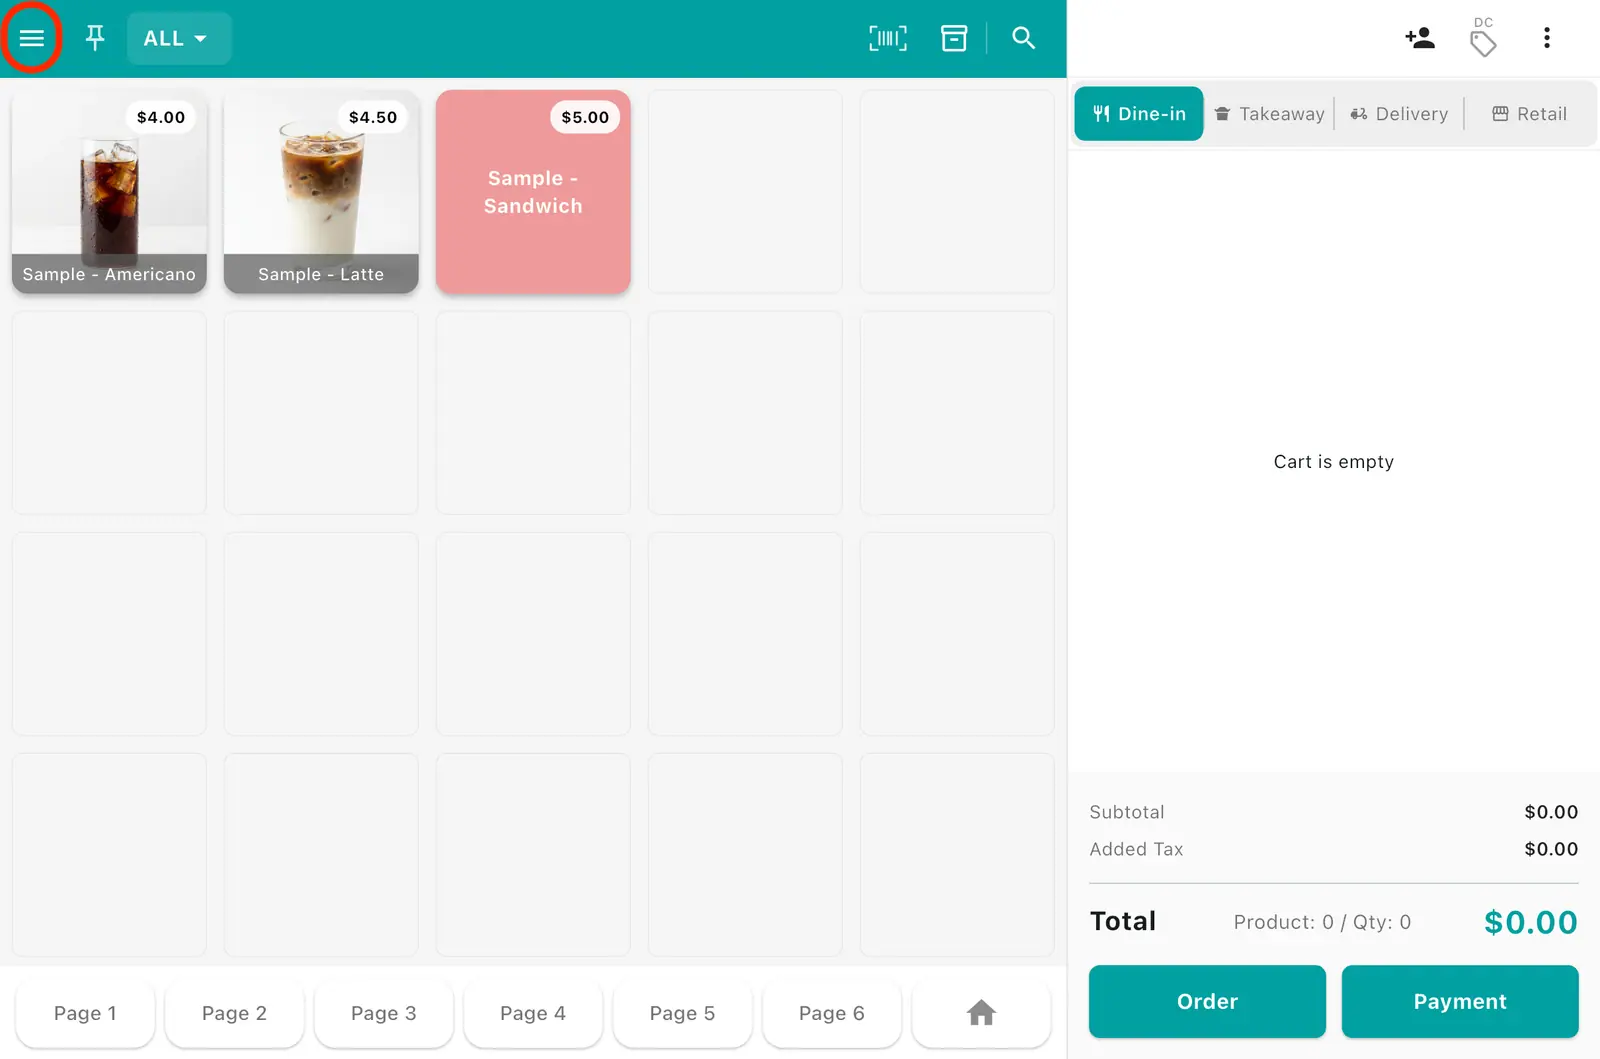
1Tap the ≡ (menu) button at the top left.
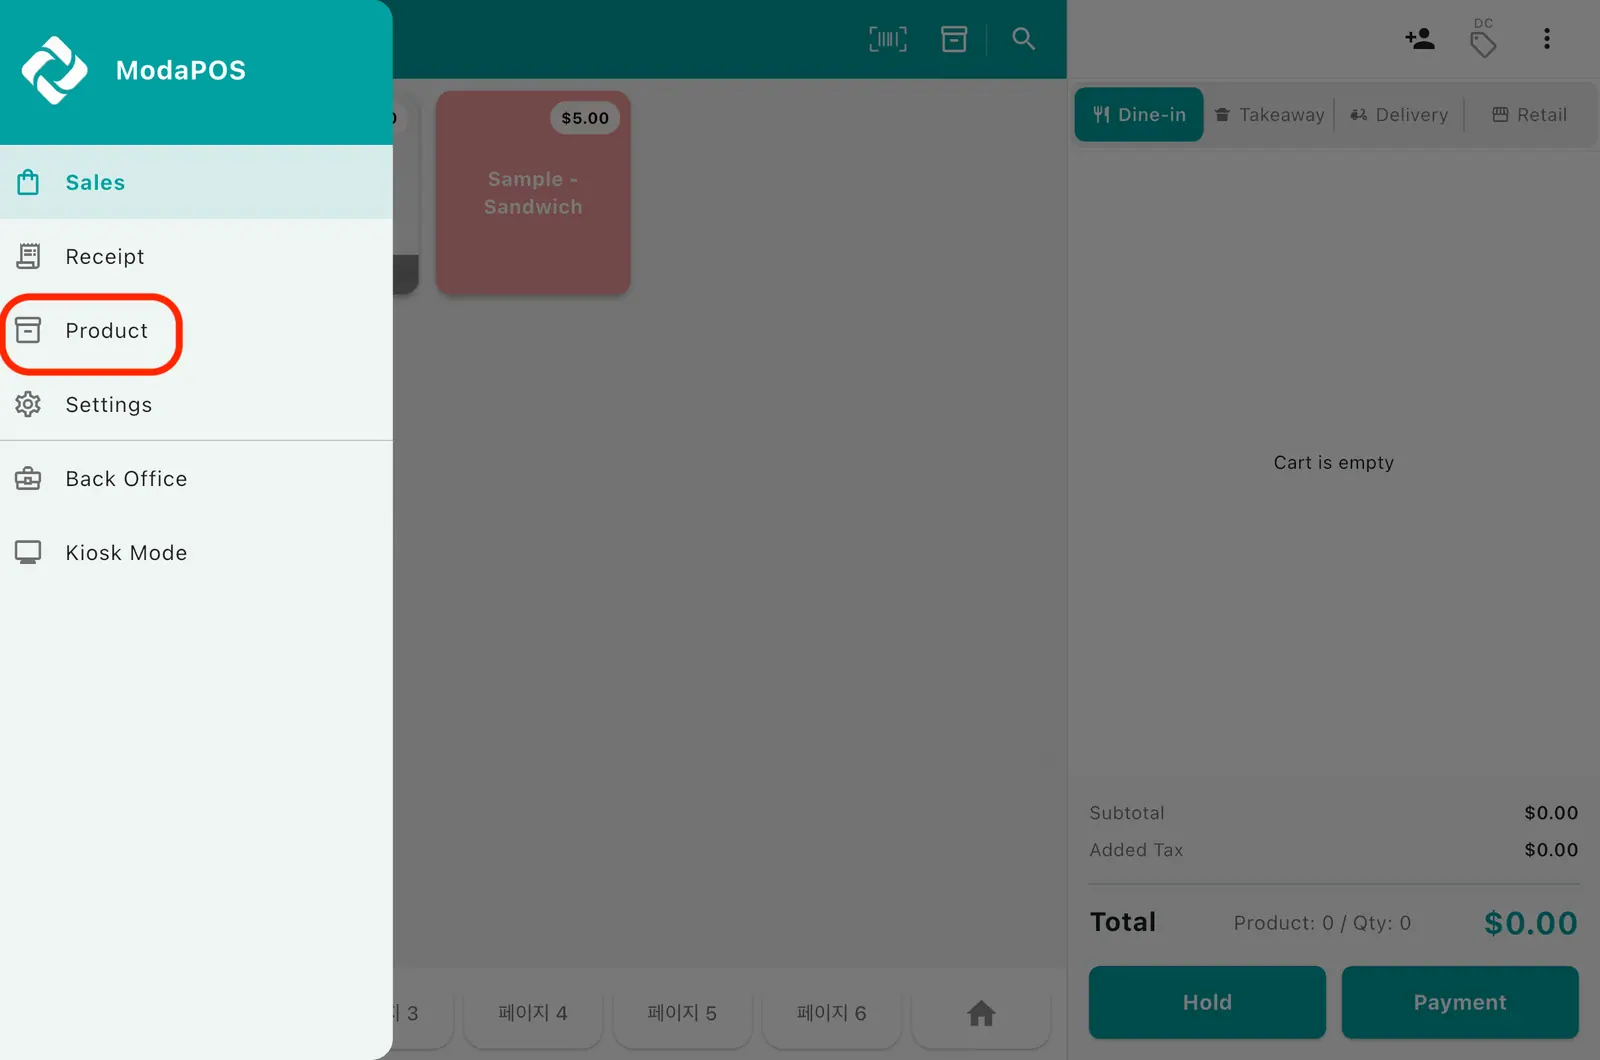
2Tap Product in the side menu.
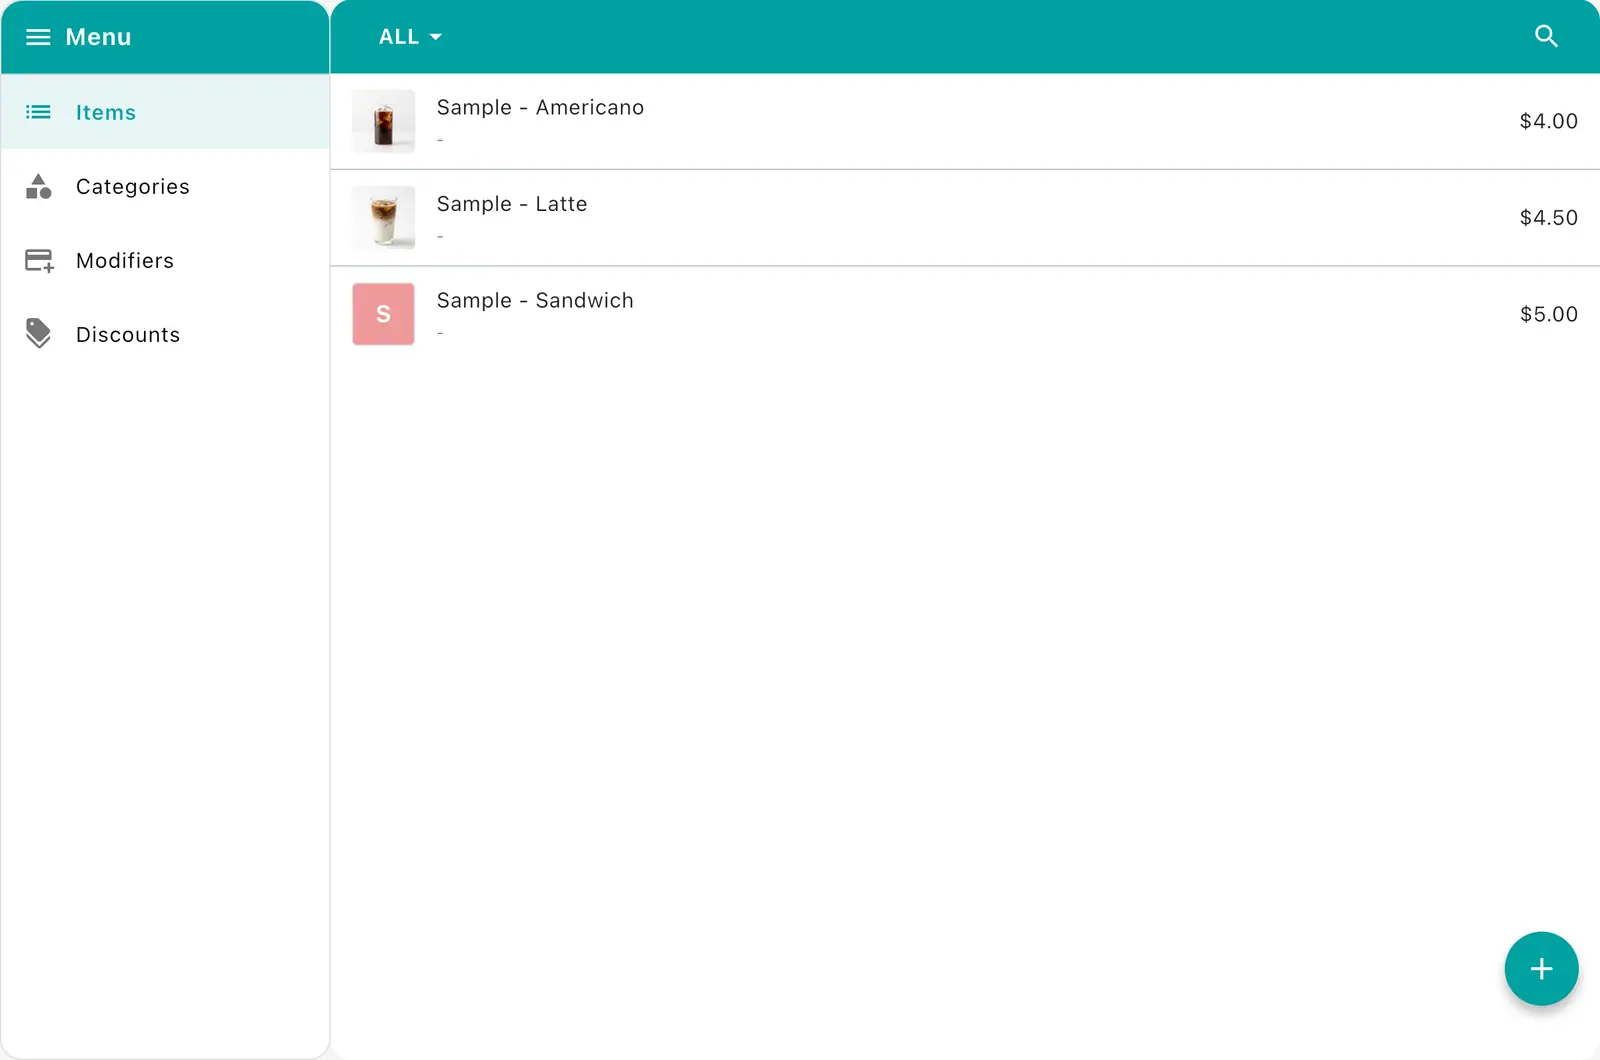
3The Settings left menu has Products, Categories, Add-ons, and Discounts.
With dozens of products or more, importing a CSV from Back Office is far faster than entering them one by one on the tablet.
2. Registering products
1Tap Products in the left menu, then tap + at the bottom right.
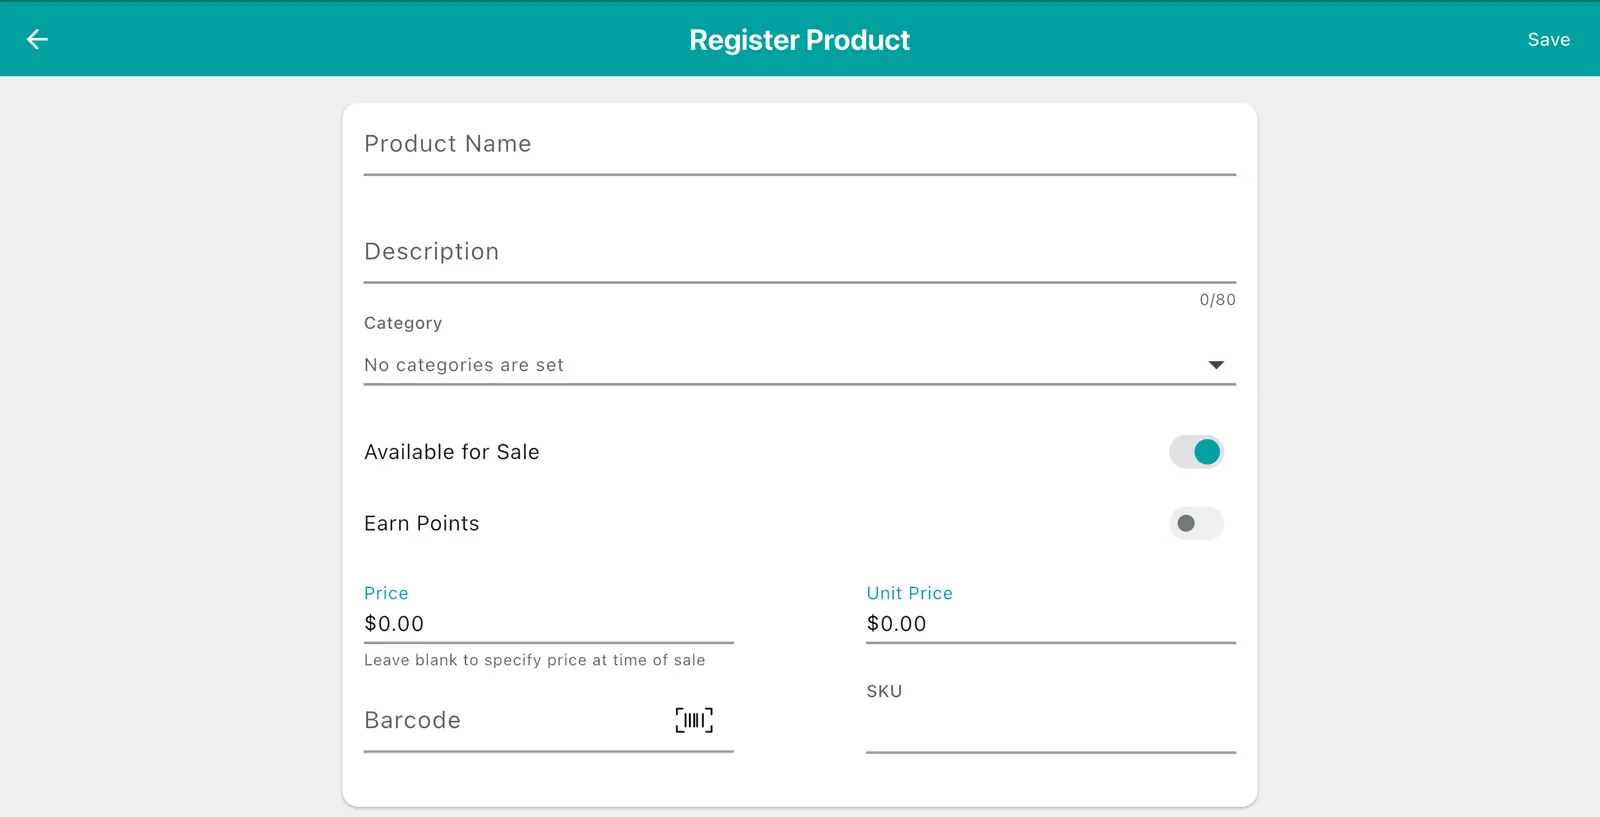
2Enter the basics — Product name, Category, Price, Unit cost, Barcode. Use the Available and Earns points toggles to control visibility and point earning.
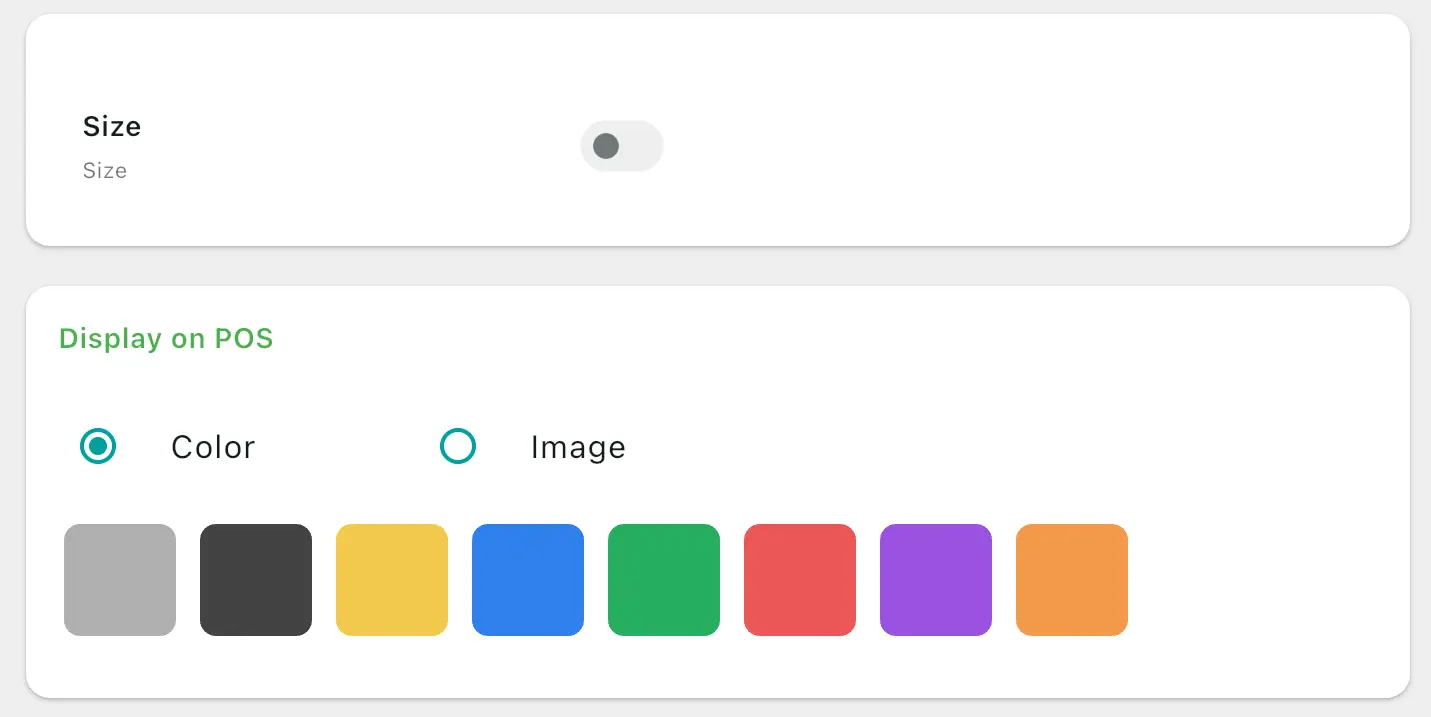
3Lower down, link add-ons such as Size and tax, and pick a colour or image for the sales screen.
| Field | Description |
|---|---|
| Product name | The name shown on the sales screen |
| Category | Which category it belongs to |
| Available | Turn off and it will not appear on the sales screen |
| Earns points | Whether buying it earns points |
| Price | What the customer pays |
| Unit cost | What you paid for it. Used to calculate profit |
| Barcode | The barcode number a scanner reads |
"Unit cost" is what you paid, not the sale price. Fill it in and Back Office can work out net profit and margin.
Leaving price blank means you type the price at each sale. Use it for products priced on the spot, like vegetables by weight or made-to-order items.
Fill in a barcode and a scanner drops it straight into the cart. Give several products the same barcode and scanning shows a picker instead.
3. Creating categories
1Tap Categories in the left menu, then tap + at the bottom right.
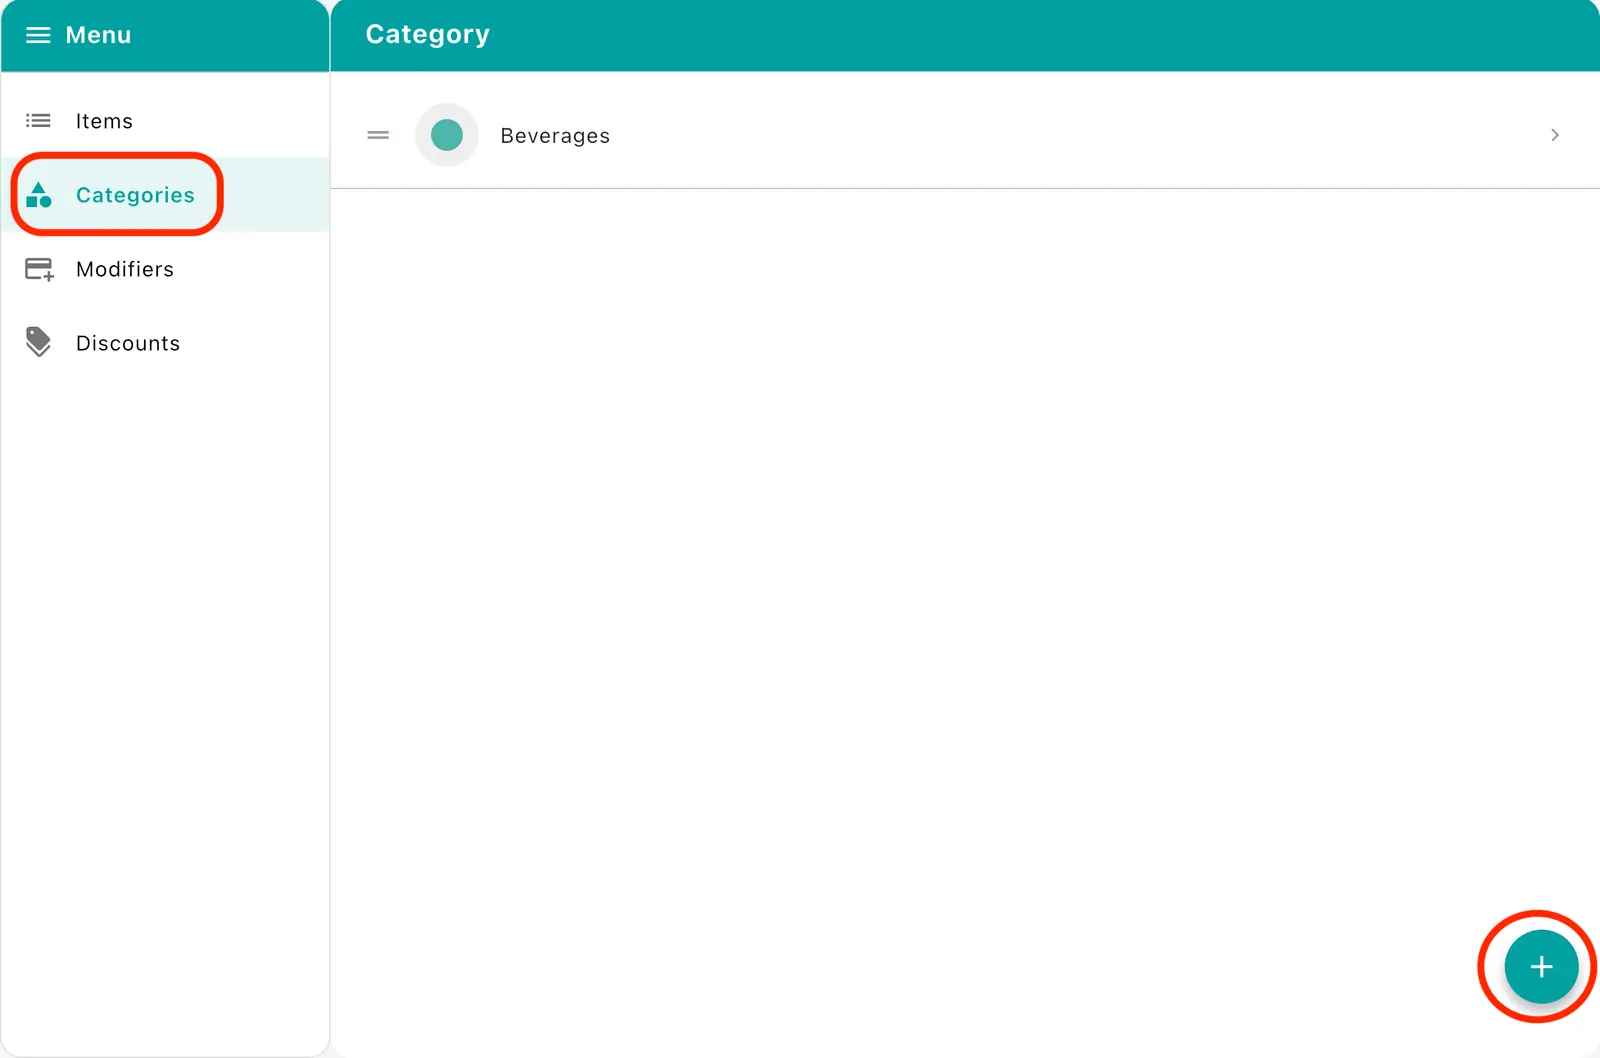
2Set the category name and a category colour (to tell it apart on the sales screen). Use Assign products to link existing products, or Add product to create products in this category.
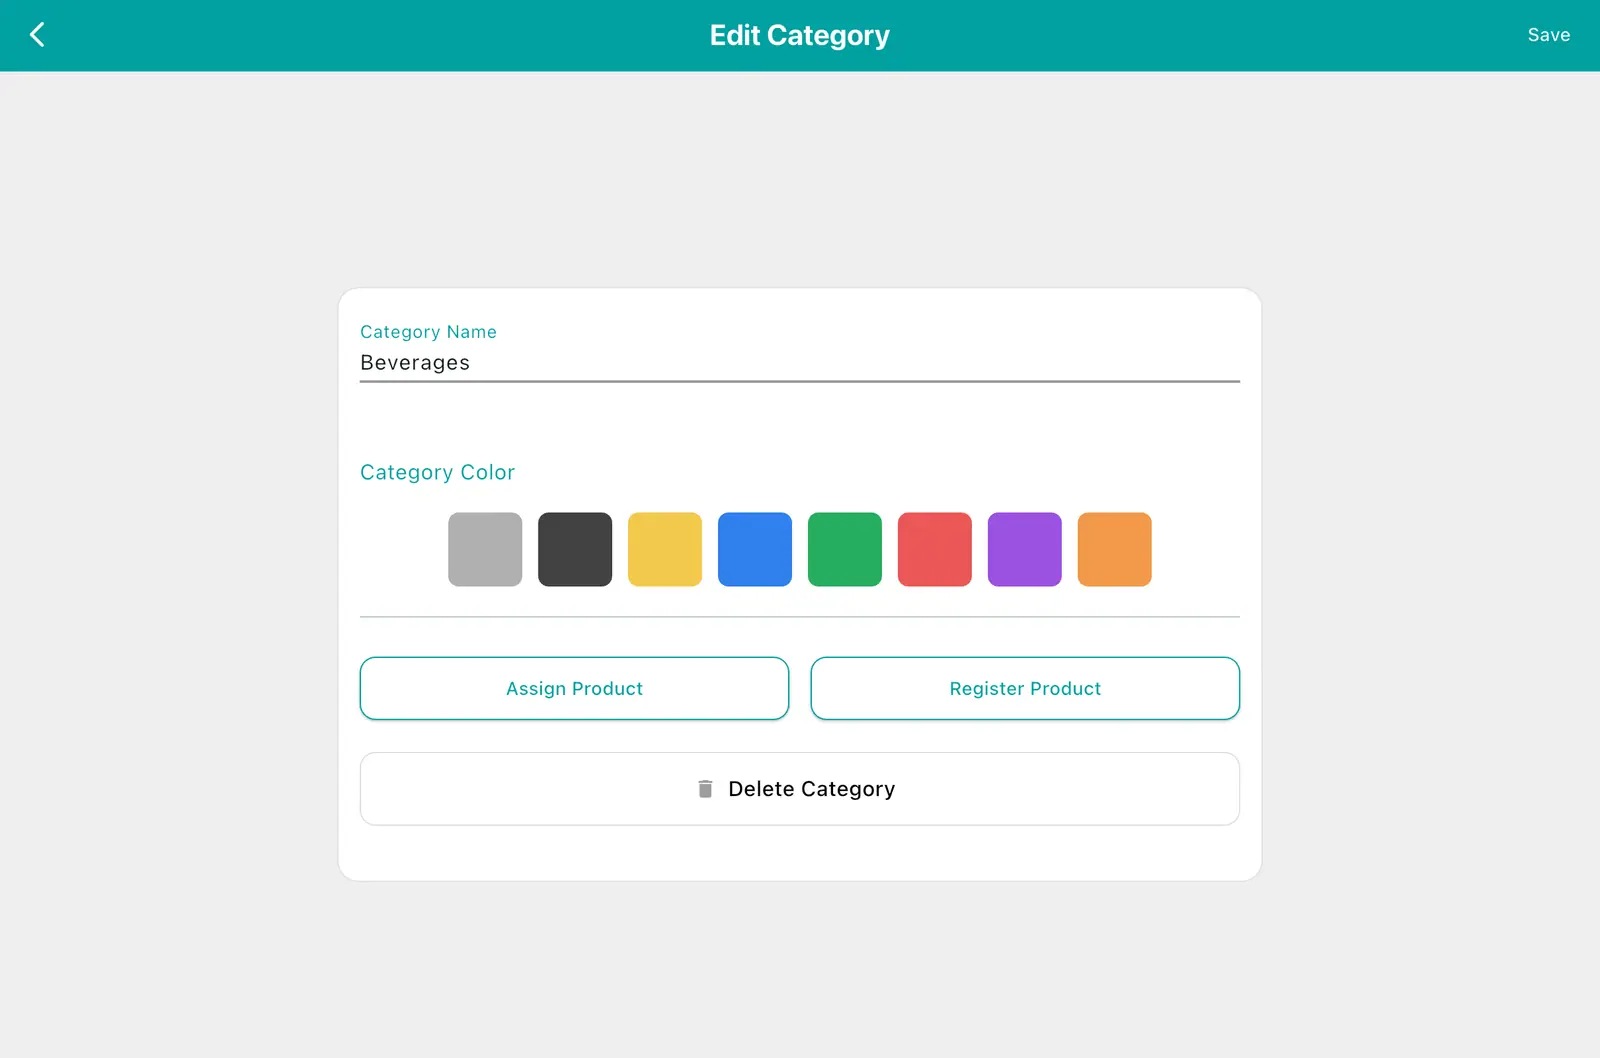
Names must be unique. An existing name will not save.
4. Creating add-ons
1Tap Add-ons in the left menu, then tap + at the bottom right.
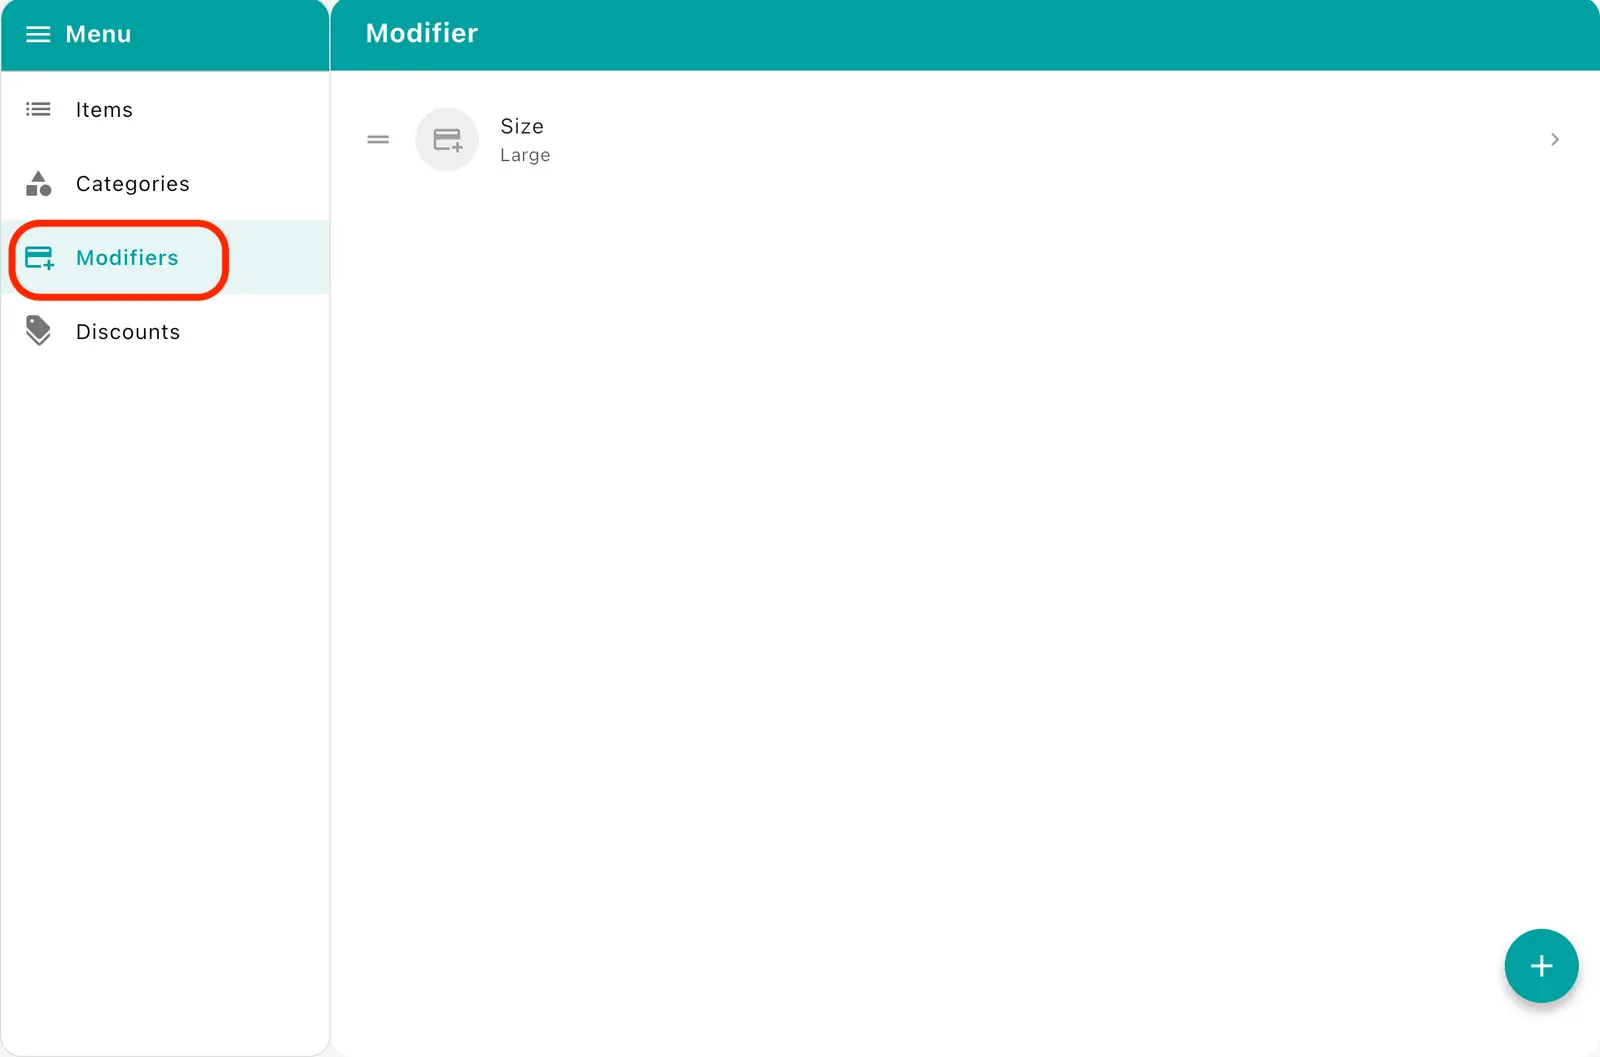
2Enter the add-on name (e.g. Size), then add each option name and extra charge.
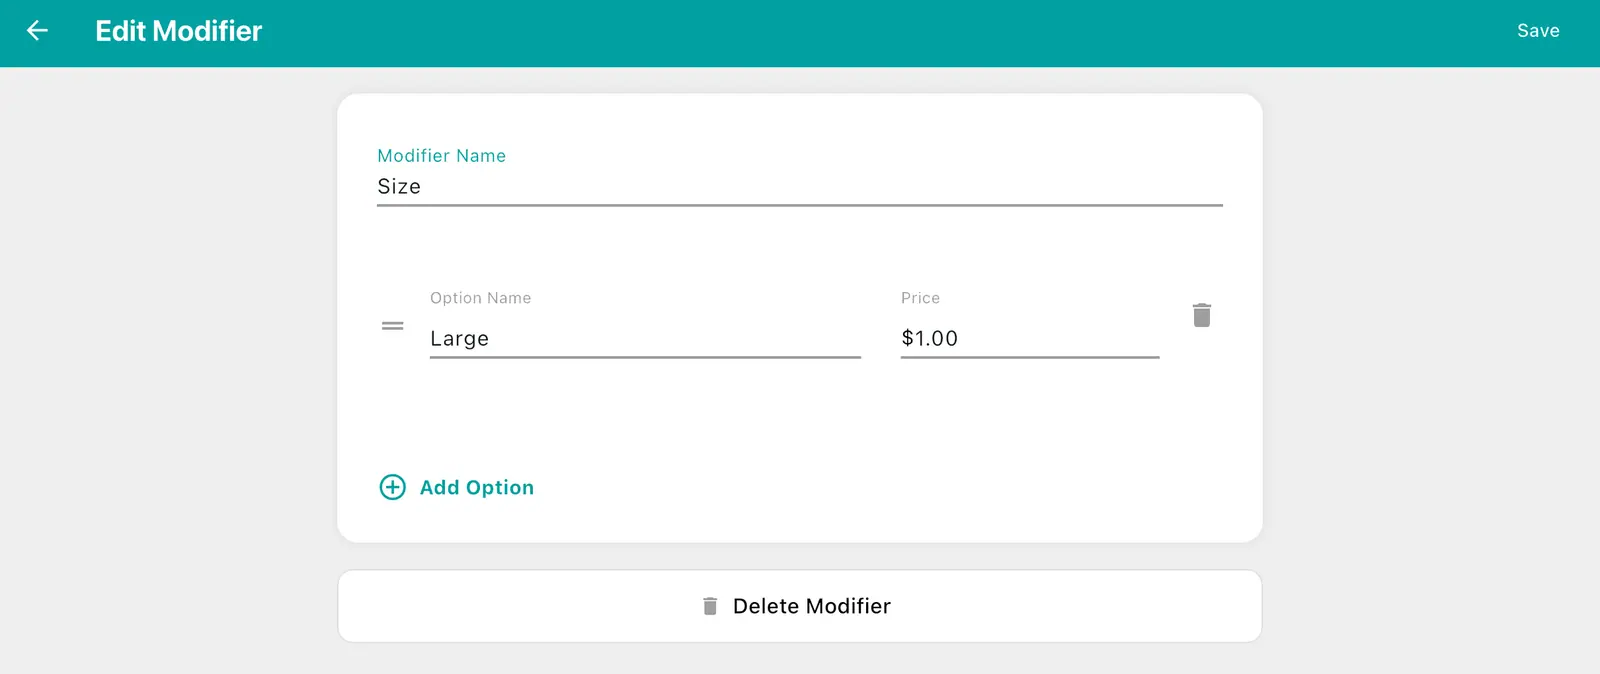
At least one option is required to save. Option names must be unique within an add-on.
5. Creating discounts
1Tap Discounts in the left menu, then tap + at the bottom right.
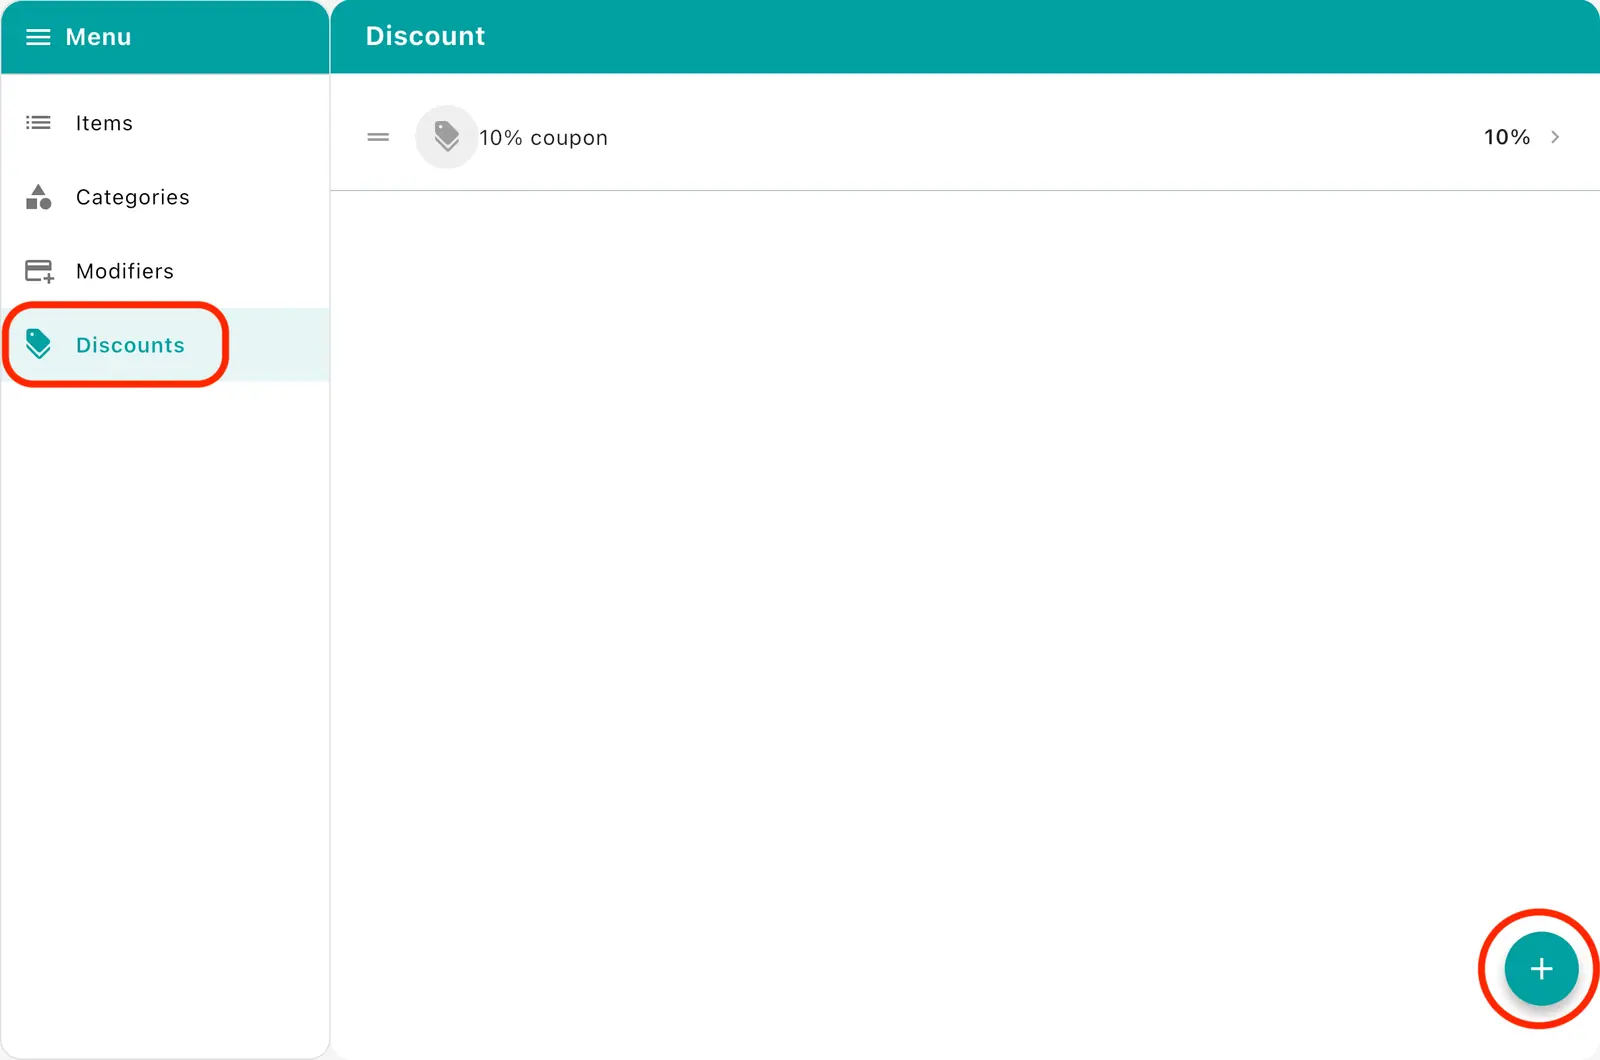
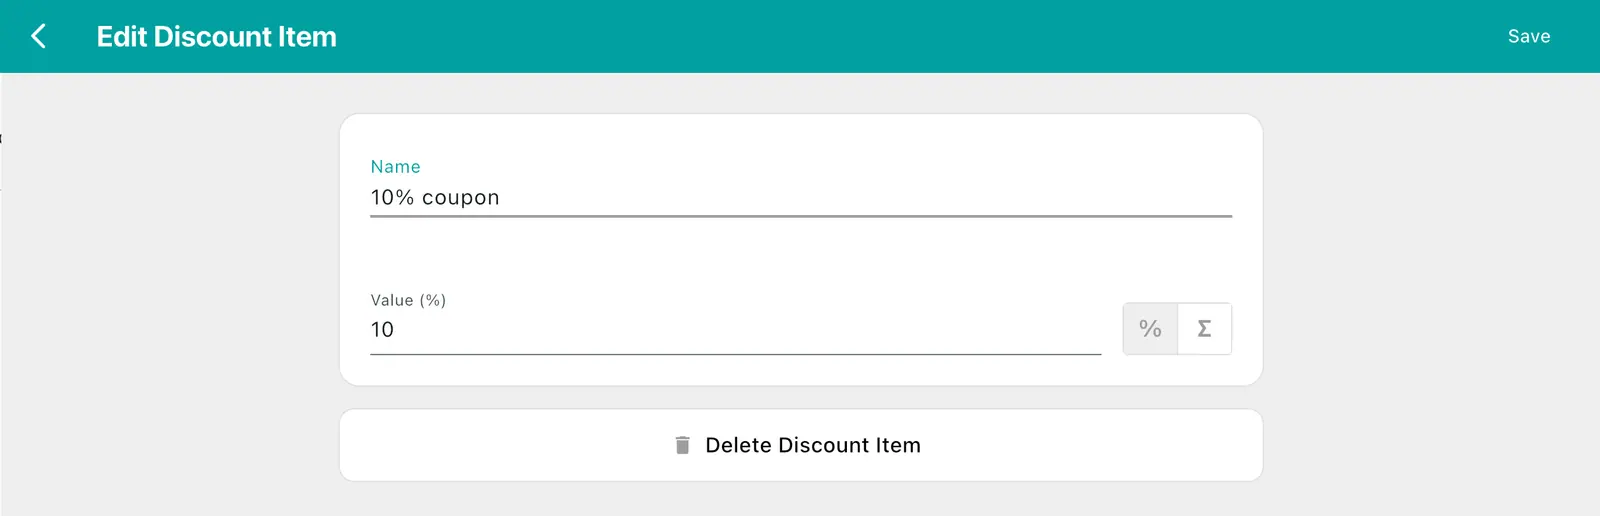
2Enter a name (e.g. Staff discount) and a value, then use the toggle to pick % off or amount off.
| Toggle | Type | Example |
|---|---|---|
| % | Percentage off | 10 → 10% off |
| Σ | Amount off | 1000 → 1,000 off |
6. Favourites
A tab on the sales screen for the products you sell most. No digging through categories — this ends up being the screen you use most. You can split it across several pages (e.g. page 1 coffee, page 2 desserts).
1On the Favourites tab at the bottom of the sales screen, press and hold an empty slot or a product to enter edit mode. You can drop products into slots, drag them around, and remove them.